| | |

The Alliance Fleet, also called the Rebel Fleet, referred to the various spacecraft operated jointly by the Rebel Alliance in their struggle against the Galactic Empire. Although it was minuscule in size compared to the Imperial Navy, and in many cases its ships were of non-military design, the fleet proved to be a thorn in the Empire's side throughout the Galactic Civil War.
Following the Battle of Endor and the creation of the New Republic, the Rebel fleet was renamed into the New Republic Defense Fleet.
Overview[]
Early history[]
For the bulk of the Rebel Alliance's early history, the acquisition of a legitimate Navy seemed impossible. The Rebel Alliance fleet was originally quite small, comprising of small to mid-sized cruisers, converted freighters, and outdated starfighters. Much of the war material had been scavenged from fleets of the former Confederacy of Independent Systems. The Alliance's main sources for its fleet were defection, theft, or salvage. Genuine construction would take place, but the limited locations made building huge ships difficult.
In terms of organization, the Rebel fleet was scattered and under various command structures. All ships in service of the Rebel Alliance in the early years before the Battle of Yavin were owned and operated by each individual Alliance member, such as the Sullustans, Corellians, or Chandrilans.
These scattered units would work with each other from time to time, such as during the Battle of Ylesia, but overall the space forces of the Alliance were not properly organized and equipped to seriously oppose the Imperial Navy.
A proper fleet[]
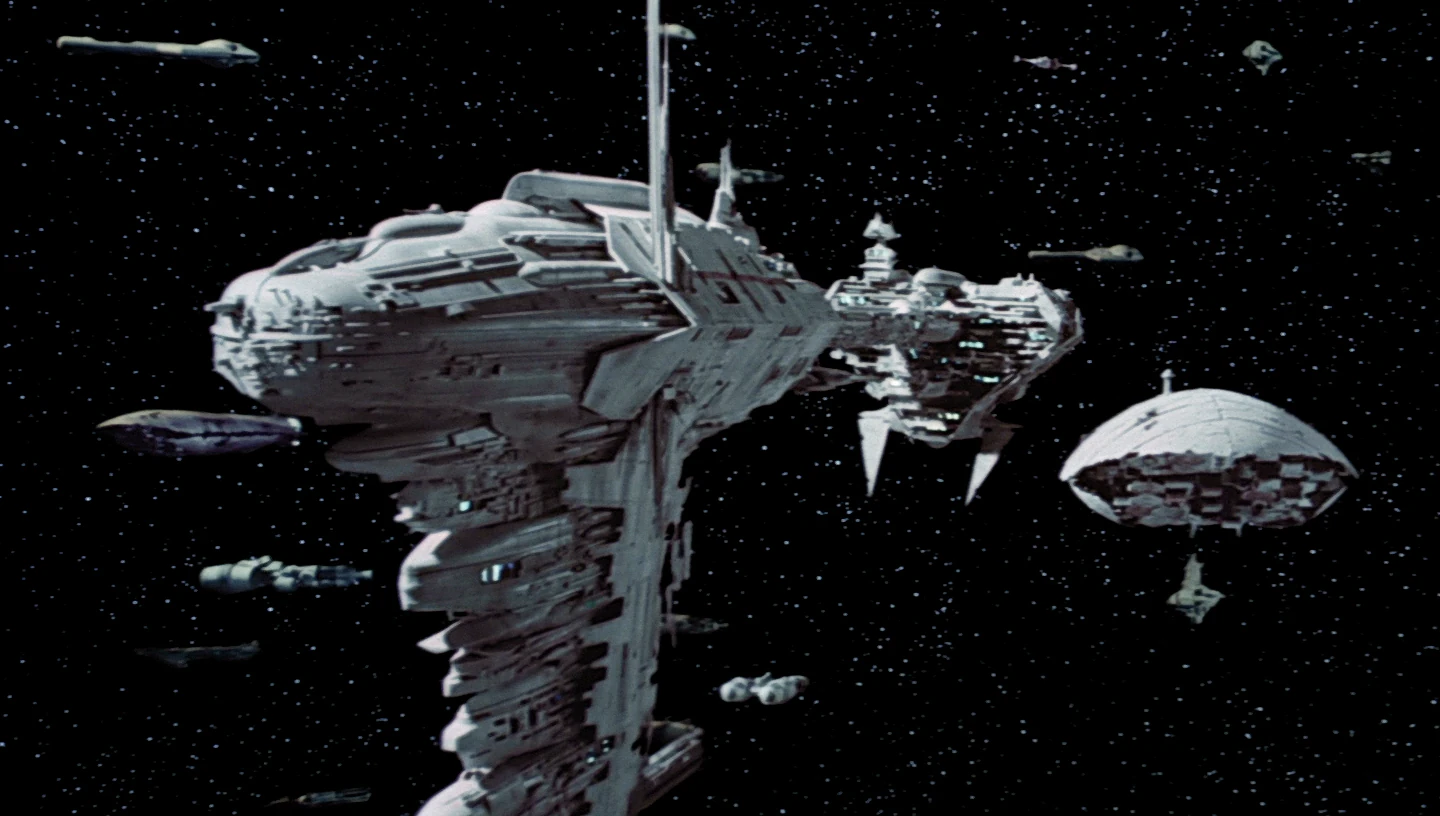

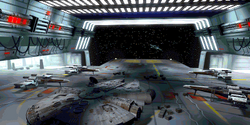
A portion of the Rebel fleet, after regrouping from being scattered at the Battle of Hoth.
As the Galactic Civil War wore on, the ragtag fleet began to grow, as disaffected Imperials switched sides and numerous planets declared their support for the Alliance. When the Mon Calamari chose to join the Rebel Alliance, they brought with them their Star Cruisers, giving the Alliance the firepower needed to contend with Imperial warships.
Mon Mothma realized the need for a single and organized Rebel armada, and decided to appoint the Mon Calamari Gial Ackbar to the rank of Admiral. With the rank came the position of Supreme Commander of the Alliance Fleet.
[]
- "The Fleet is firmly under the control of one being: Admiral Ackbar. He is the father of the Alliance Fleet. He created it from virtually nothing and wields it as if it was an extension of his own body."
- ―Voren Na'al

Gial Ackbar, father of the Fleet.
Under Ackbar, the once scattered Rebel space forces organized and assembled into an actual fleet, broken down into battle lines and task forces. Ackbar standardized training and created new line rear admirals to help command the elements of the fleet. With Ackbar came the Mon Calamari's sizable shipyards, which began producing new Star Cruisers, frigates, and corvettes.
Mon Mothma gave Ackbar seven orders: the first was 'Avoid Battle.' The second was 'Send a Detailed Report on the State of the Fleet.' The third was 'Complete the Training of the Fleet.' The fourth 'Reorganize Fleet Replenishment.' The fifth 'Maintain a High Level of Morale in Your Command.' The sixth was 'Organize Raiding Forces'. The seventh, and final order was 'Be Prepared to go to Battle within a Month's Notice'.
While the fleet was never committed to full battle, elements and battle lines of the fleet were regularly detached from the main fleet to raid Imperial installations, attack isolated convoys, and ambush small detachments of the Imperial fleet. This tactic of seasoning a fleet through many small engagements served Ackbar well. Years later during the Yuuzhan Vong War, a retired and ailing Ackbar organized a similar plan to train the newer units of the New Republic fleet before they had to commit to a major engagement.
Yavin to Hoth[]
A considerable bulk of the Rebel fleet was ambushed nine months after the Battle of Yavin by a large contingent of the Imperial Navy under the command of Darth Vader. Vader had hoped to end the Galactic Civil War in a single, decisive battle. Although several transports and smaller capital ships were quickly destroyed, starfighters commanded by Wedge Antilles, including Rogue Squadron, were able to hold off the Imperials long enough to allow the Rebel fleet to scatter into hyperspace.
Between Hoth and Endor[]
Alliance warships on patrol.
To keep the location of the Rebel base a secret from the searching Lord Vader, the Alliance fleet was ordered away from Hoth, dispersed around the galaxy, prior to the evacuation, though some isolated and detached units did aid in the evacuation or create diversions. This conformed to a tactical doctrine that Ackbar and the High Command had adopted—that the Alliance High Command should remain separated from the Alliance Fleet, since the Alliance could probably withstand the loss of either the Fleet or High Command, but not both.
After the defeat at the Battle of Hoth, Alliance High Command and a portion of the Rebel fleet regrouped at the secret rendezvous point beyond the rim of the galaxy. Later, when the Alliance had established itself on Arbra, the fleet was kept hidden within the corona of Arbra's sun. For much of the following year, the Rebel fleet remained hidden from the Empire, slowly building itself up and preparing for the inevitable conflict with a full Imperial fleet. Such a conflict would happen over the forest moon of Endor.
Battle of Endor[]
- "Move the fleet away from the Death Star."
- ―Admiral Ackbar
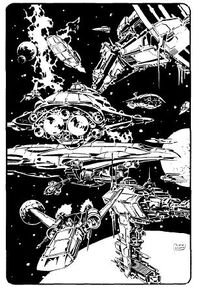
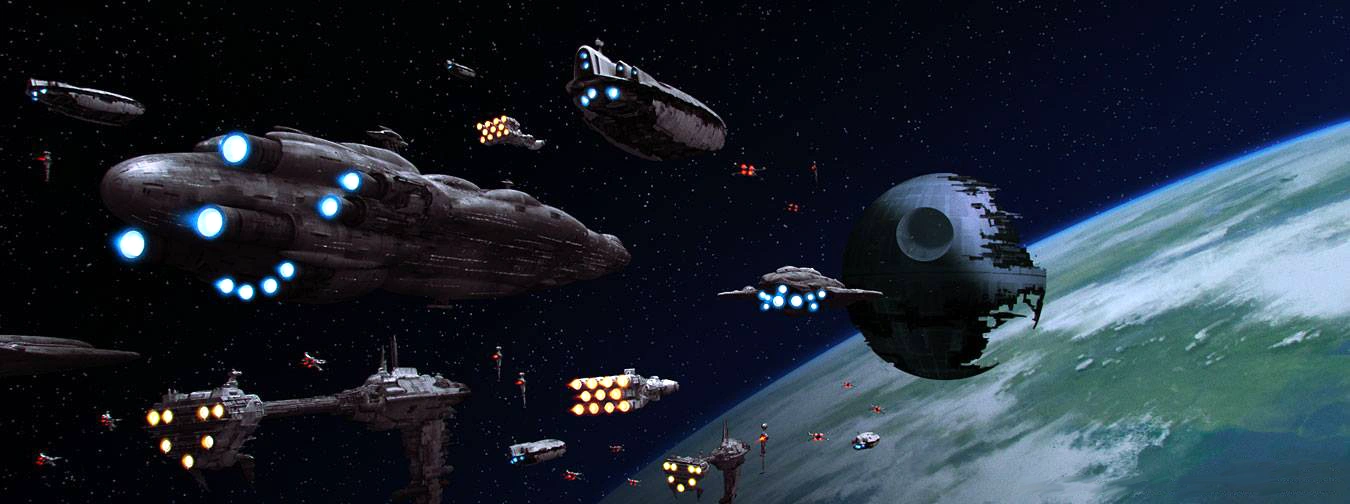
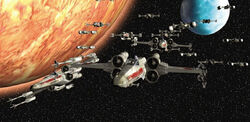
Alliance Fleet approaches the second Death Star.
Following the discovery of the Death Star II, the majority of the fleet gathered at Sullust. Following a summit on the Rebel flagship Home One, the fleet launched towards Endor, intent on destroying the superweapon before it was completed. In what became known as the Battle of Endor, the Rebel fleet distinguished itself in facing down a sizable Imperial battle fleet, consisting of the Star Dreadnought Executor and around forty Star Destroyers.
The fleet prevailed at Endor, largely due to the fact that the Imperial fleet had become dependent on the emperor's battle meditation, and their organization and resolve disappeared after he was killed. After the battle, one-fifth of the fleet was destroyed, but was able to rebuild itself when more worlds left the Galactic Empire once word of Emperor Palpatine's death had spread.
Organization[]
Headquarters[]
The fleet was controlled under the auspices of Fleet Command, the branch of the Alliance military that oversaw all fleet operations. Fleet Command was headed by the admiral of the fleet, which was Ackbar for the entire history of the Rebellion. While Ackbar was head of the fleet, he was assisted in command by senior officers, who each were responsible for components of the navy. Due to the importance of the fleet to the Alliance, Fleet Command was considered one of the most important Supreme Allied Commands.
| Fleet Command | |||
|---|---|---|---|
| Line Admirals | Starfighter Command | Commander of Fleet Intelligence | Commander of Ordnance and Support |
| Fleets | Alliance Starfighter Corps | Fleet Intelligence | Ordnance and Support |
When the Alliance became the New Republic, the Rebel Alliance Fleet became the New Republic Defense Fleet. Also under the New Republic military structure, starfighters were under Starfighter Command.
Tactical organization[]
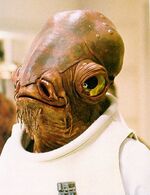
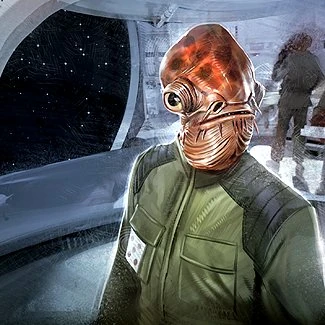
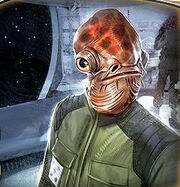
A Mon Calamari Admiral in the Alliance Fleet.
The Fleet's starships were organized into lines of battle. Each line of battle was composed of four elements: heavy cruisers, support ships, picket craft, and starfighter squadrons. A battle line's size and composition differed depending on available units or the mission. In practice, the standard line consisted of three heavy warships like MC80 Star Cruisers, supported by several escort frigates, corvettes and starfighter wings. Yet, battle lines ranged in size from as few as one and as many as ten heavy warships.
By direct order from Mon Mothma, the Rebel fleet was never to have more than one quarter of its forces deployed as roving battle lines, such as the 14th Roving Line. All lines were commanded by line admiral appointed directly by Admiral Ackbar, though in reality there were few Alliance admirals. To remedy this, battle lines not possessing of an admiral were commanded by the senior captain of the line's cruisers.
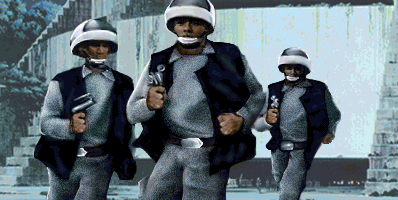
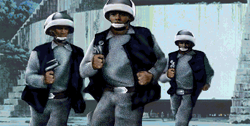
The Fleet also maintained Fleet Regiments to assist in ship security, boarding actions and supplement Alliance and Sector Forces in ground actions. Fleet Regiments wore gray coveralls, black vests and white streamlined blast helmets.
The Fleet also maintained marines for ship-to-ship defense and assault when two ships engaged in one-on-one combat or for tactical assault on a key ship.
| Units | Composition |
|---|---|
| Individual Fleet | Fleets were composed of three to six battle groups and were led by a line admiral.[5] |
| Battle Group | Battle groups consisted of two to four squadrons, and were mostly theoretical due to the Alliance being rarely spare as large of a single detachment. In practice, battle groups were maintained by a few Allied Commands, and were commanded by line admirals.[5] |
| Squadron | Squadrons are the most typical Alliance fleet detachment, and are made up of three to four sections working in a concert, including a line of capital ships supported by a section of escort ships and a flotilla acting as a picket line. Squadrons are commanded by either a senior captain, a commodore, or a line admiral.[5] |
| Section/Flotilla | Sections were forces encompassing a small number of starships, typically light capital ships working alongside and commanded by the senior captain in the section. Sections that are made up of capital ships and close support vessels as "flotillas" in reference to ancient seagoing tradition.[5] |
| Elements | Elements are a force encompassing a single starship, commanded by a captain.[5] |
Individual task forces also existed of various sizes with perhaps the largest being Rebel Command Fleet under the direct command of Admiral of the Fleet Arkbar.
Battle tactics[]
The Alliance Fleet was known for its use of several battle tactics, many of which were very different than those of their Imperial counterparts. For instance, while the Empire stressed quantity over quality, preferring to use weak unshielded craft to beat down opposition through sheer numbers, the Rebels used strong, multi-purpose, shield- and hyperdrive-equipped craft.
Ackbar Slash[]
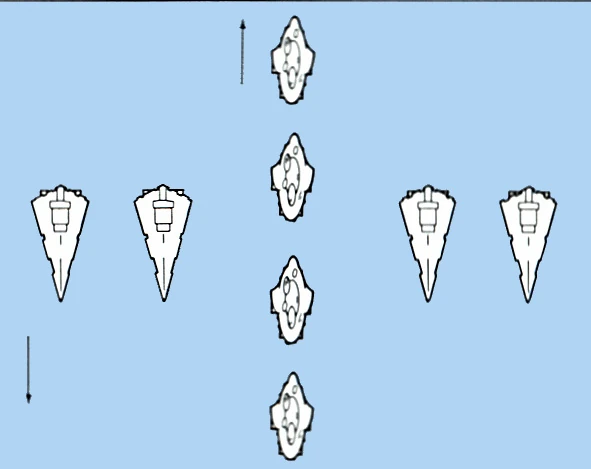

A group of Mon Calamari Starships using the Ackbar Slash against a group of Star Destroyers
The Ackbar Slash was a space warfare tactical maneuver devised by Admiral Ackbar. It involved a fleet's ships forcing their way into the middle of an enemy formation. The desired result was that, with enemy gunners running a high risk of shooting their own forces, they would be hesitant to fire. The ships in the middle would have no such risk, and be able to cause higher damage to their enemy. If the enemy ships did choose to fire, the risk of friendly fire still worked to the advantage of the attacking fleet.
Rogue Doctrine[]
Rogue Doctrine was the name given to the three battle tactics designed by Luke Skywalker and Rebel Alliance tactician Beryl Chiffonage, with help from Risiev Credal, for use by the T-47 airspeeders stationed at Echo Base on the planet Hoth.
Attack Pattern Delta[]
The first tactic involved a group of snowspeeders attacking an AT-AT in a single-file formation in order to give the enemy gunners a single target. After reaching optimal firing range, the lead speeder would fire before breaking off. With the AT-AT only able to track one target at a time, the remaining speeders would have a clear shot at the walker.
Bantha Decoy[]
The second tactic was a variant of a trick used once used by Luke Skywalker to target banthas in his T-16 skyhopper on his homeworld of Tatooine. Two speeders would approach a walker from behind while flanking it. The lead speeder would cut across the walker's line of sight to draw its fire, while simultaneously veering across the second speeder's flight vector, which would then expose the vulnerable neck of the AT-AT to the second speeder
Harpoon and Tow Cables[]


The harpoon and tow cable method used during the Battle of Hoth.
The third and final method used the harpoons and tow cables of the T-47 to entangle the walker's legs, which would trip the massive AT-AT, bringing its own weight crashing down upon itself. This plan of attack worked most effectively during the Battle of Hoth, during which several AT-ATs were brought down using this method.
Space Denial[]
Due to the expense of keeping starfighters operational and the lack of resources available to the Alliance in comparison to their enemies, space denial was the only viable alternative to wresting control of space from the Empire. Space denial was a means by which the Rebellion could deny the free movement of Imperial forces within Imperial-controlled space without significant protection, thus it was never meant to take and hold territory. The strategy behind space denial focused on small units of starfighters, usually at the squadron level, operating from hidden bases established near known Imperial supply routes and employing hit-and-run tactics and convoy harassment.
Scissors Technique[]

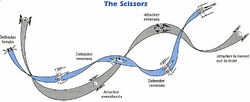
A diagram of the scissors tactic.
The scissors was a very difficult, timed maneuver aimed at bringing an attacking starfighter into the sights of the defending craft during a dogfight. The move, consisting of sharp, twisting turns, was generally executed immediately after the attacker overshot during a head-to-head engagement or following a successful breaking maneuver.
Trench Run Defense[]
Trench Run Defense (TRD) was an anti-capital ship tactic modeled after the success of Rebel Alliance starfighters against the First Death Star known as the trench run. Rebel pilots colloquially referred to targets vulnerable to the tactic as being susceptible to "Trench Run Disease".
Pilots facing large starships would fly very close to the surface of a ship's outer hull, using trenches to avoid enemy fire. Starfighters could thus deliver their payload with impunity to sensitive ship segments, assuming a successful escort against enemy starfighters.
Ships[]
Capital ship classes[]
- "Our cruisers can't repel firepower of that magnitude!"
- ―Admiral Ackbar at the Battle of Endor
Space stations[]
Although the Alliance Fleet was small, it did possess some space stations. Throughout the Galactic Civil War, it utilized Alliance Space Stations, of which it had five levels of design. They also had some Deep Space Manufacturing Facilities. In addition, they also utilized Rebel Platforms and Repair Yards. They also utilized Telgorn shipyards. They also used the XQ1, XQ2, XQ3, XQ4, XQ5, and XQ6 Platforms.
By 7 ABY, the Rebel Alliance managed to procure their own Empress-class space station.
Battleships[]
The Alliance fleet made use of several battleships. The most notable is the MC80 Home One type Star Cruiser, of which its most well known model was the flagship, the Home One. It also utilized Lucrehulk-class battleships.
Battlecruisers[]
The Alliance Fleet utilized Bulwark-class battle cruisers for their Battlecruisers.
Cruisers and destroyers[]
- Carrack-class light cruiser
- Dauntless-class heavy cruiser
- Dreadnaught-class heavy cruiser
- Liberator-class cruiser

Rebel One escorted by a Rebel Commerce Guild Cruiser and a Mon Calamari Cruiser
- MC40a light cruiser
- MC80 Liberty type Star Cruiser
- MC80a Star Cruiser
- Neutron Star-class bulk cruiser
- Providence-class carrier/destroyer (modified)
- Recusant-class light destroyer
- Strike-class medium cruiser
Carriers and assault ship[]
- Acclamator-class assault ship
- Quasar Fire-class bulk cruiser
- Spiral-class Assault Ship
- Ton-Falk-class escort carrier
- Lucrehulk-class battleships
Frigate[]

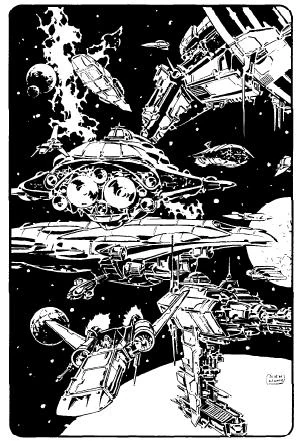
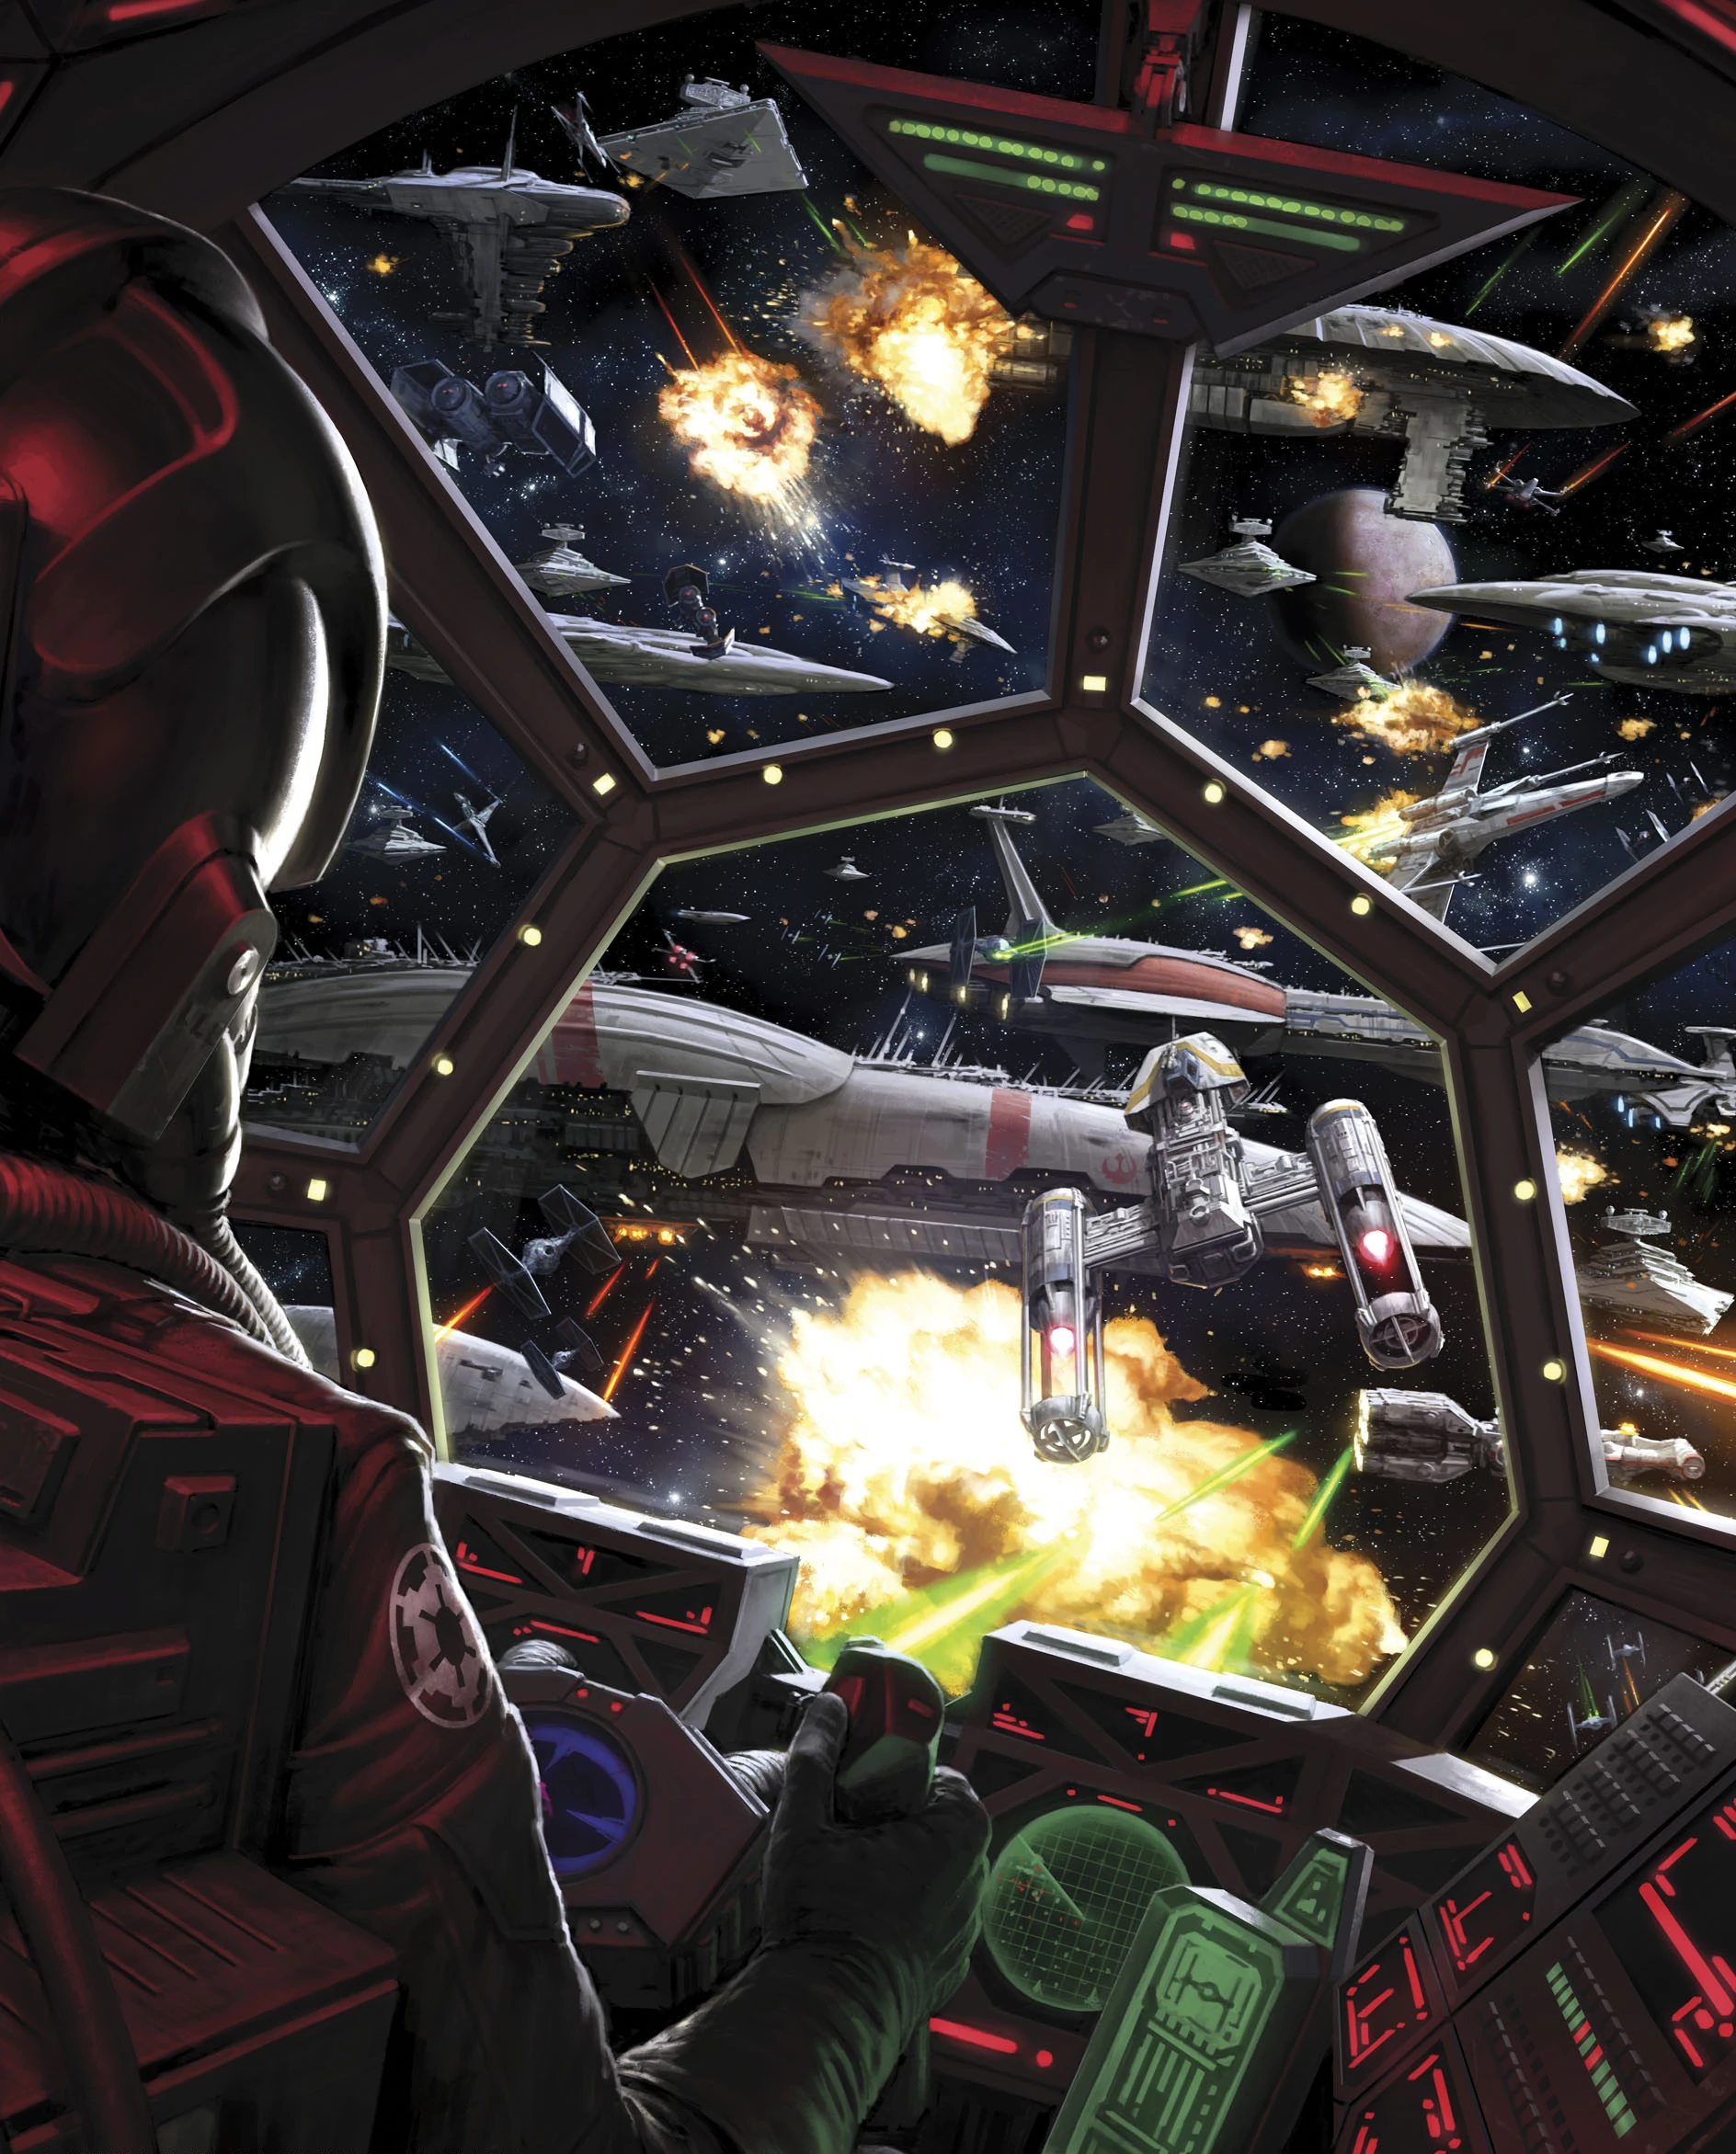
A Rebel fleet in an Imperial ambush
- DP20 frigate
- EF76 Nebulon-B escort frigate
- Interceptor-class frigate
- Lancer-class frigate
- Mansk-class light escort frigate
- MC30c frigate
- Munificent-class star frigate
- Nebulon-B2 frigate
- Rebel ship of the line
- Zebulon-B frigate
Corvettes and gunships[]
- Alderaanian gunship
- Assassin-class corvette
- Skyhopper
- Braha'tok-class gunship
- Chedaki's blockade runner
- Consular-class cruiser
- CR70 corvette
- CR90 corvette
- IPV-1 System Patrol Craft
- Light Corvette (air cruiser)
- Kesselian blockade runner
- Marauder-class corvette
- X4 Gunship
Starfighters[]
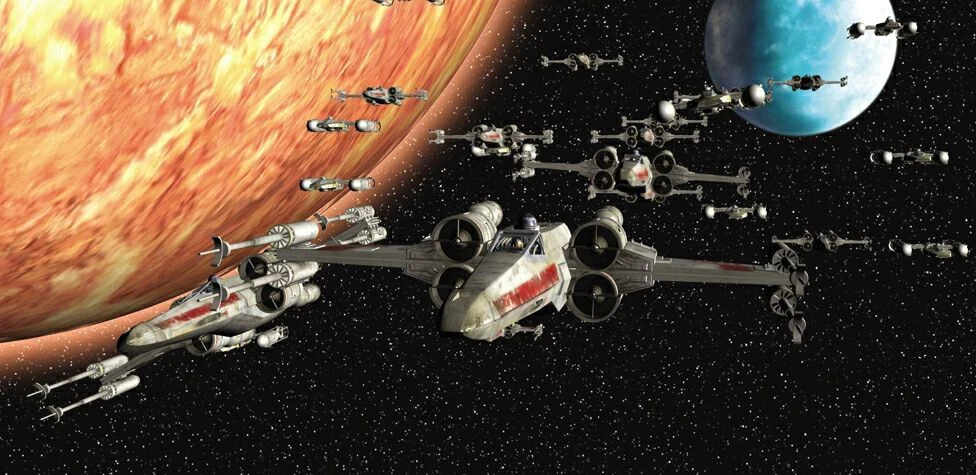
Rebel X-wing and Y-Wing starfighters heading into battle
- Alpha-3 Nimbus-class V-wing starfighter
- Aggressive ReConnaissance-170 starfighter
- Belbullab-22 starfighter
- B-wing starfighter
- BTL Y-wing starfighter
- BTS-A2 Long-Range Strike Fighter/Bomber
- Cutlass-9 patrol fighter
- Eta-2 Actis-class interceptor
- E-wing escort starfighter
- H-60 Tempest bomber
- M-class fighter
- N-1 starfighter
- Rihkxyrk assault fighter
- R-22 Spearhead
- R-41 Starchaser
- RZ-1 A-wing interceptor
- T-65 X-wing starfighter
- Z-95 Headhunter
- R60 T-wing interceptor
- TIE Series fighters
Support craft[]

There were many YT-1300 light freighters in the service of the Rebel Alliance.
Logistics vessels[]
- Action VI transport
- BFF-1 bulk freighter
- Cargo orbiter
- Class VI bulk freighter
- Delta-class DX-9 stormtrooper transport
- Gamma-class ATR-6 assault transport
- GR-75 medium transport
- HT-2200 medium freighter
- Lambda-class T-4a shuttle
- Muurian transport
- YT-1300 light freighter
- YT-2000 light freighter
Dropships and landing craft[]
- BR-23 courier
- Carbon-scored troop transport
- Corellian heavy lifter
- Kleeque-class transport
- Low Altitude Assault Transport/infantry
- Limpet ship
- Sentinel-class landing craft
- Squad Pod
Shuttles[]
- Aegis-class Combat Shuttle
- Lambda-class T-4a shuttle
- Kappa-class shuttle
- Katarn-class boarding shuttle
- Multi-environment Space Boat
- RM-09 Alliance shuttle
Transports of unknown class[]
- Leia Organa's shuttle
- Leia Organa's space cruiser
- Luke Skywalker's freighter
- Luke Skywalker's scout craft
- Luke Skywalker's scout ship
- Nonnah
- Rusty Eagle
Appearances[]
Non-canon appearances[]
Sources[]
Notes and references[]
External links[]
 Flat Fleet (Part 1) on Hyperspace (content removed from StarWars.com and unavailable)