
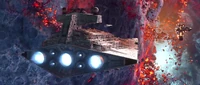
During the Galactic Civil War, a major battle took place near the moon Galitan in the Ringali Nebula between the Galactic Empire and the New Republic, when the Imperial II-class Star Destroyer Overseer and Imperial reinforcements from Admiral Rae Sloane's fleet attacked the Starhawk and the Nadiri fleet.
Prelude[]
- "Let me speak plainly, Vanguard Squadron. We're in trouble. We have the Overseer behind us, and Imperial reinforcements moving to cut us off. There's no way we'll fend them off. We need to send a distress call to our allies in the New Republic and hope they can reach us in time. The problem is, we're wounded, outnumbered, and the Ringali Nebula is already disrupting out long-distance communications."
- ―Lindon Javes, to Vanguard Squadron

Assault on the Nadiri Dockyards
Following an Imperial attack on the Nadiri Dockyards and subsequent damage to the New Republic prototype Starhawk, General Hera Syndulla's fleet evacuated the dockyards and made their way to the Chandrila system. While en route, Titan Squadron attacked the Republic fleet inside a nearby debris field, and forced them into the Ringali Nebula, causing loss of long-distance communications and cut off from the outside. Syndulla's fleet was wounded, Starhawk crippled, and her forces were in desperate need of New Republic reinforcements.[1]
The battle[]
Rallying the New Republic[]
- "Vanguard, I'm in. It's a mess in here. Standby while I get this hub up and running…It works, but the system is a wreck. I'm gonna need some time to get all the comsats back online."
"Be quick. We have TIEs headed our way. I think the Empire has figured out what we're up to." - ―Zerelda Sage and Gracalia Vatara Sienar, during the repairs

While the rest of Syndulla's fleet were engaged in battle, Chief Mechanic Zerelda Sage led a repair team on a CR90 corvette to repair an old Rebel broadcast hub located over a nearby moon of Galitan, with Vanguard Squadron providing support. The Empire responded with waves of TIE bombers, TIE fighters, and TIE interceptors, which forced Vanguard Squadron into battle while Sage's repair team raced to finish their repairs. Sage managed to get the broadcast hub up and running, but required more time to bring three nearby communication satellites online to boost the signal. Upon completing the repairs, an Imperial IGV-55 surveillance vessel arrived to jam the distress signal, but was quickly destroyed by Vanguard, allowing the fleet to send a message out calling for New Republic reinforcements.[1]
New Republic response[]
- "Alone? No. But thanks to you, I've been able to call in some help."
"Commander Javes? This is Anvil Squadron." - ―Lindon Javes and Anvil Leader, to Vanguard Squadron just as Anvil Squadron arrive to help

Anvil Squadron join the fight
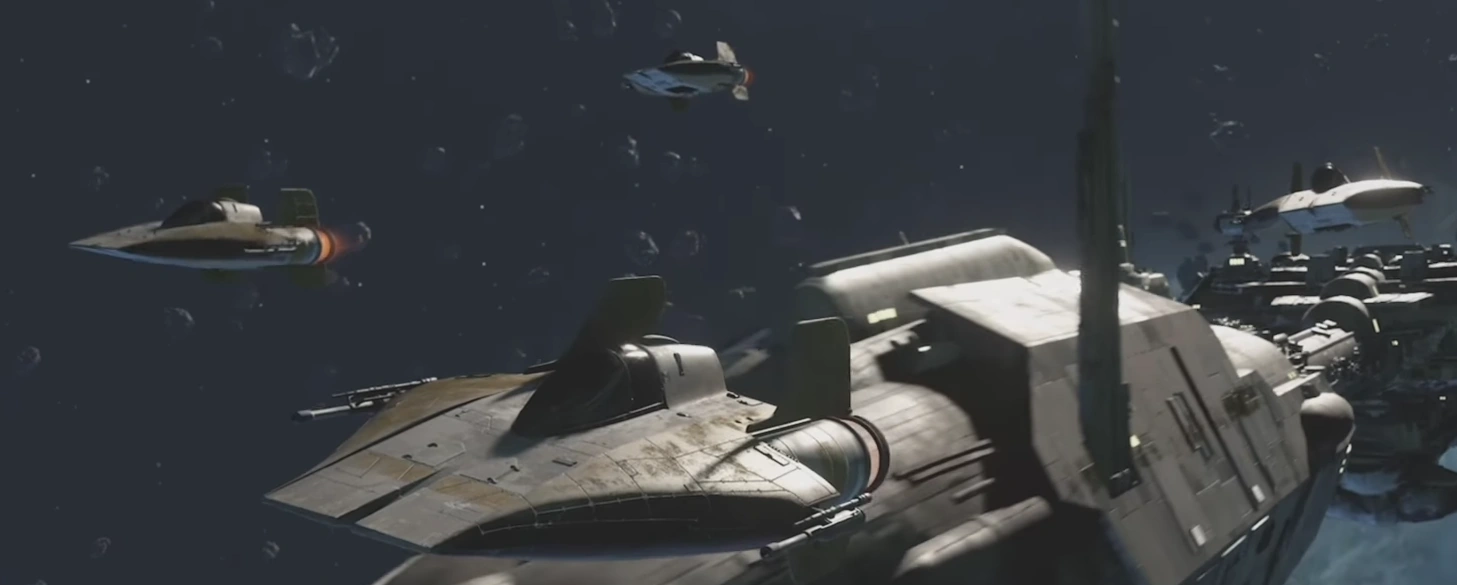
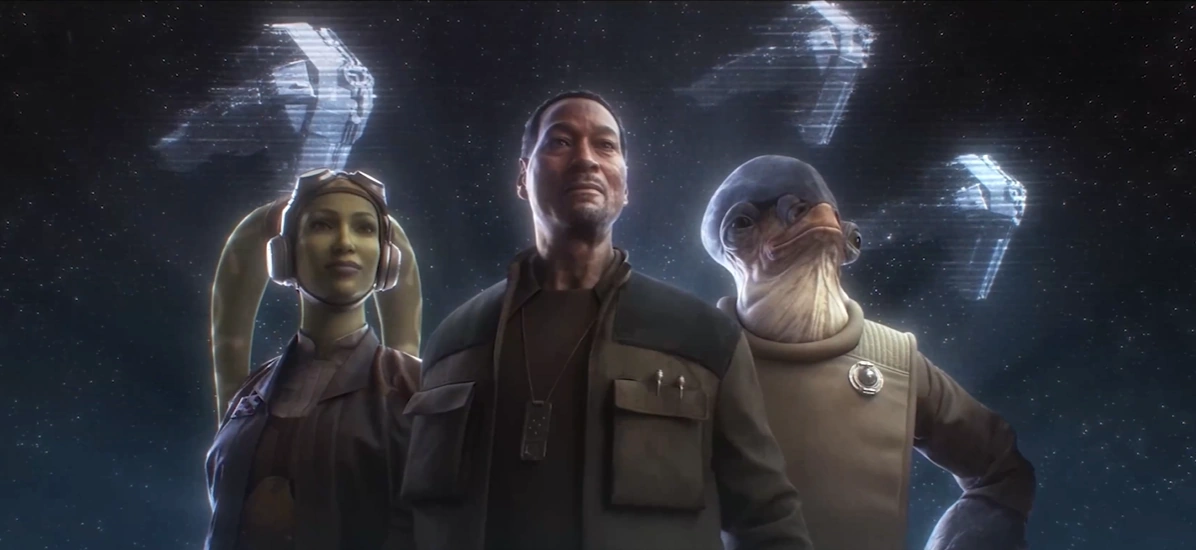
Following their distress call to rally the New Republic, Anvil Squadron responded, sending reinforcements to bolster Syndulla's fleet and help in the subsequent battle. To further the cause, Commander Lindon Javes donned his flight suit and helmet, jumped into a T-65B X-wing starfighter, and personally led Anvil Squadron.[1]
Titan Squadron attack[]
- "This is it, Titan Squadron. Our moment of victory is at hand. The Temperance has broken off from the rebel fleet, but no matter. Our focus is the Starhawk. And thanks to the reinforcements from Admiral Sloane, we now have it surrounded."
- ―Captain Terisa Kerrill, briefs Titan Squadron
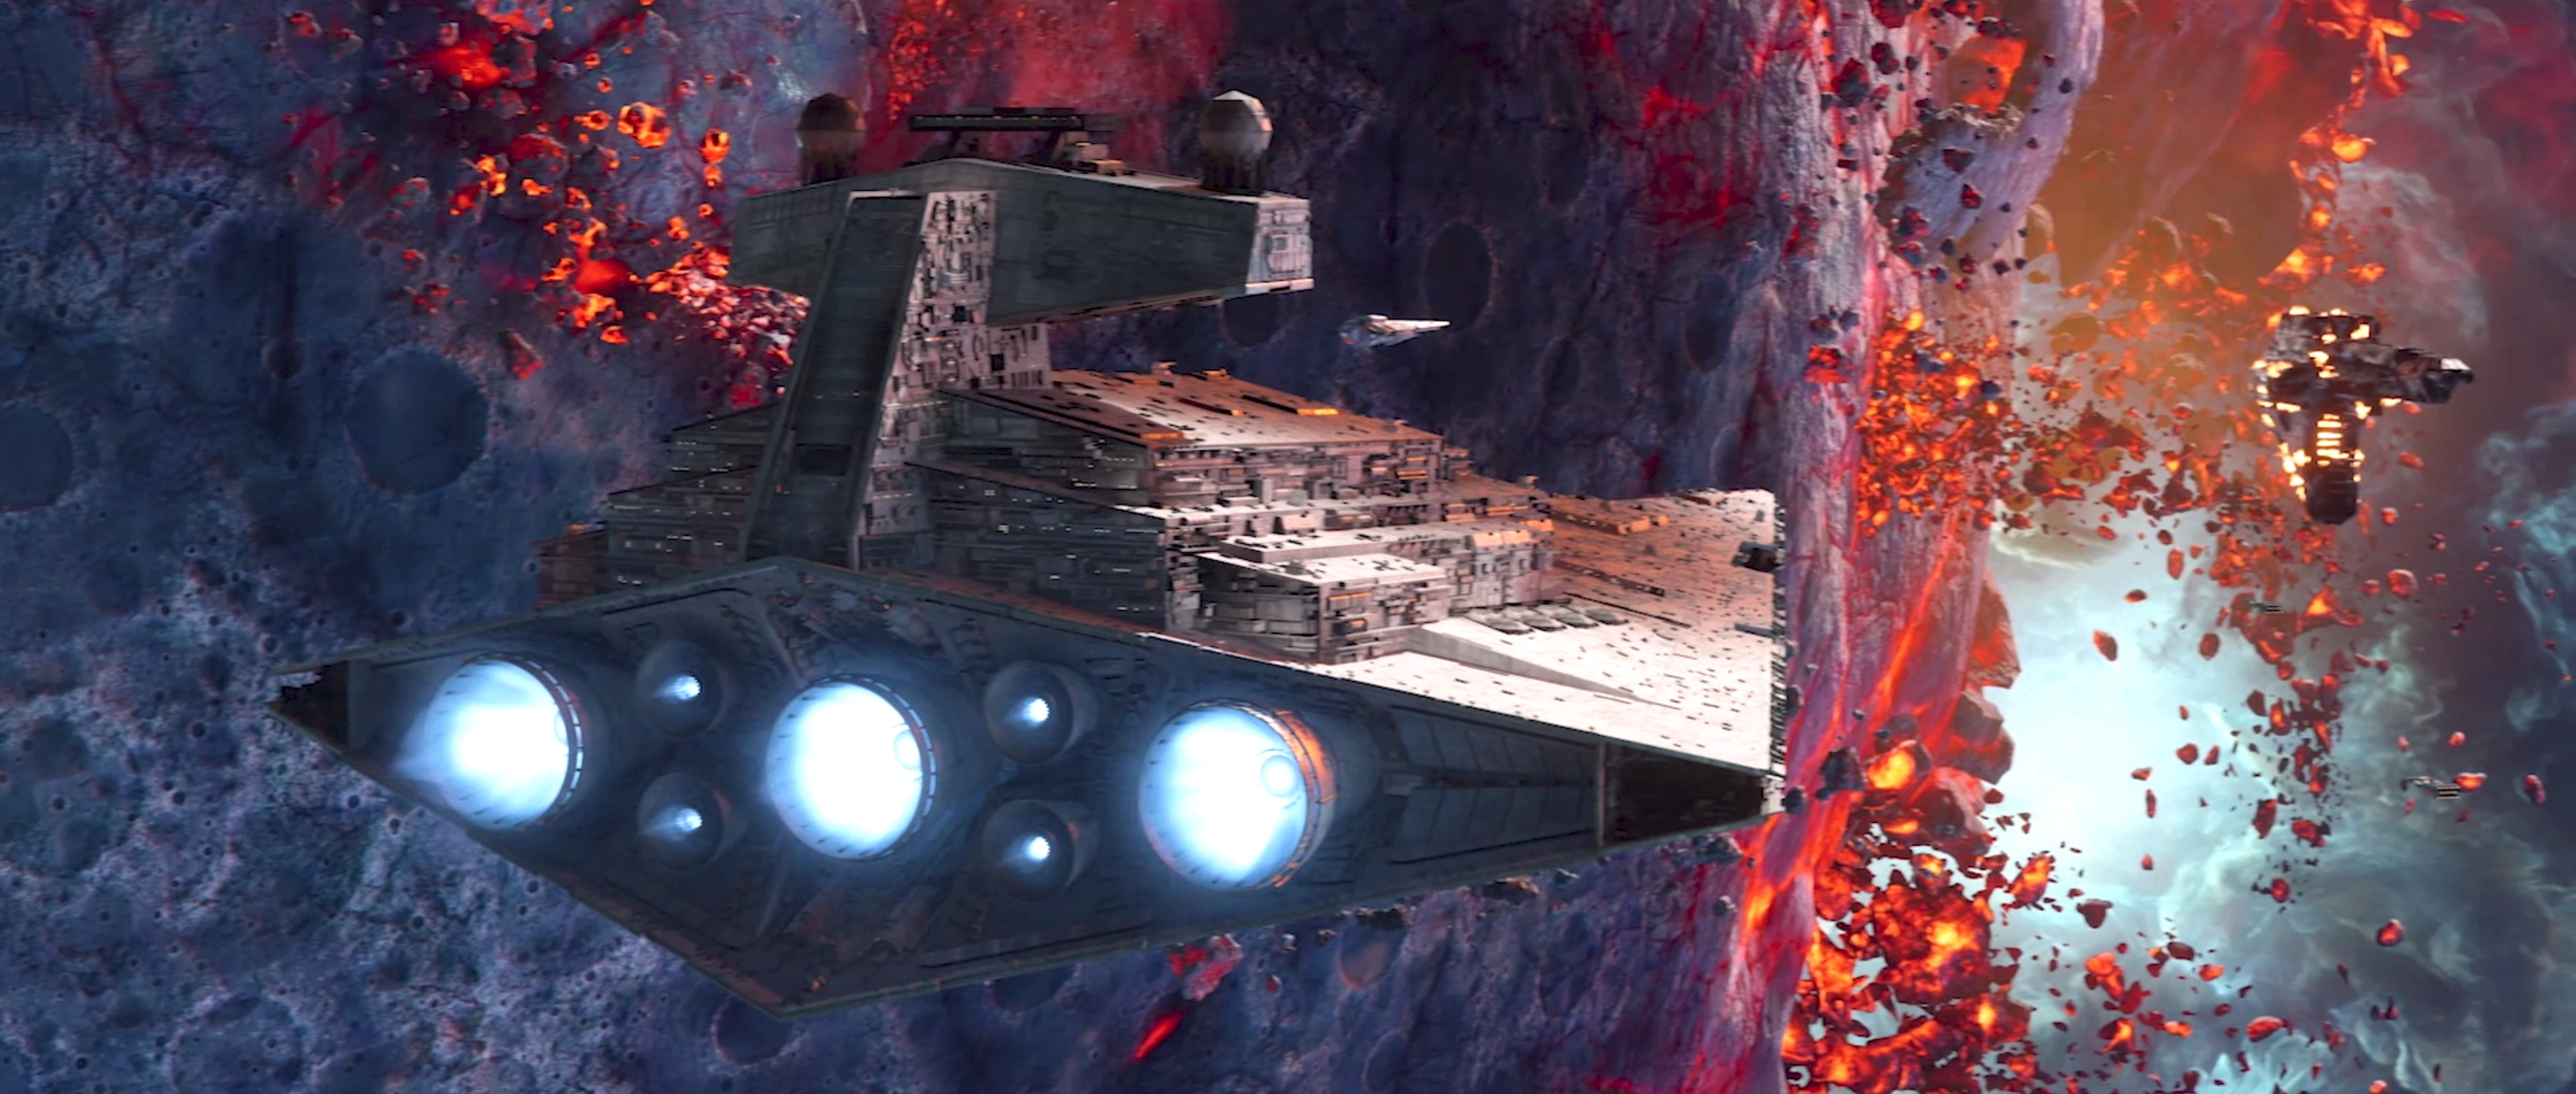
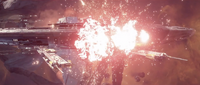
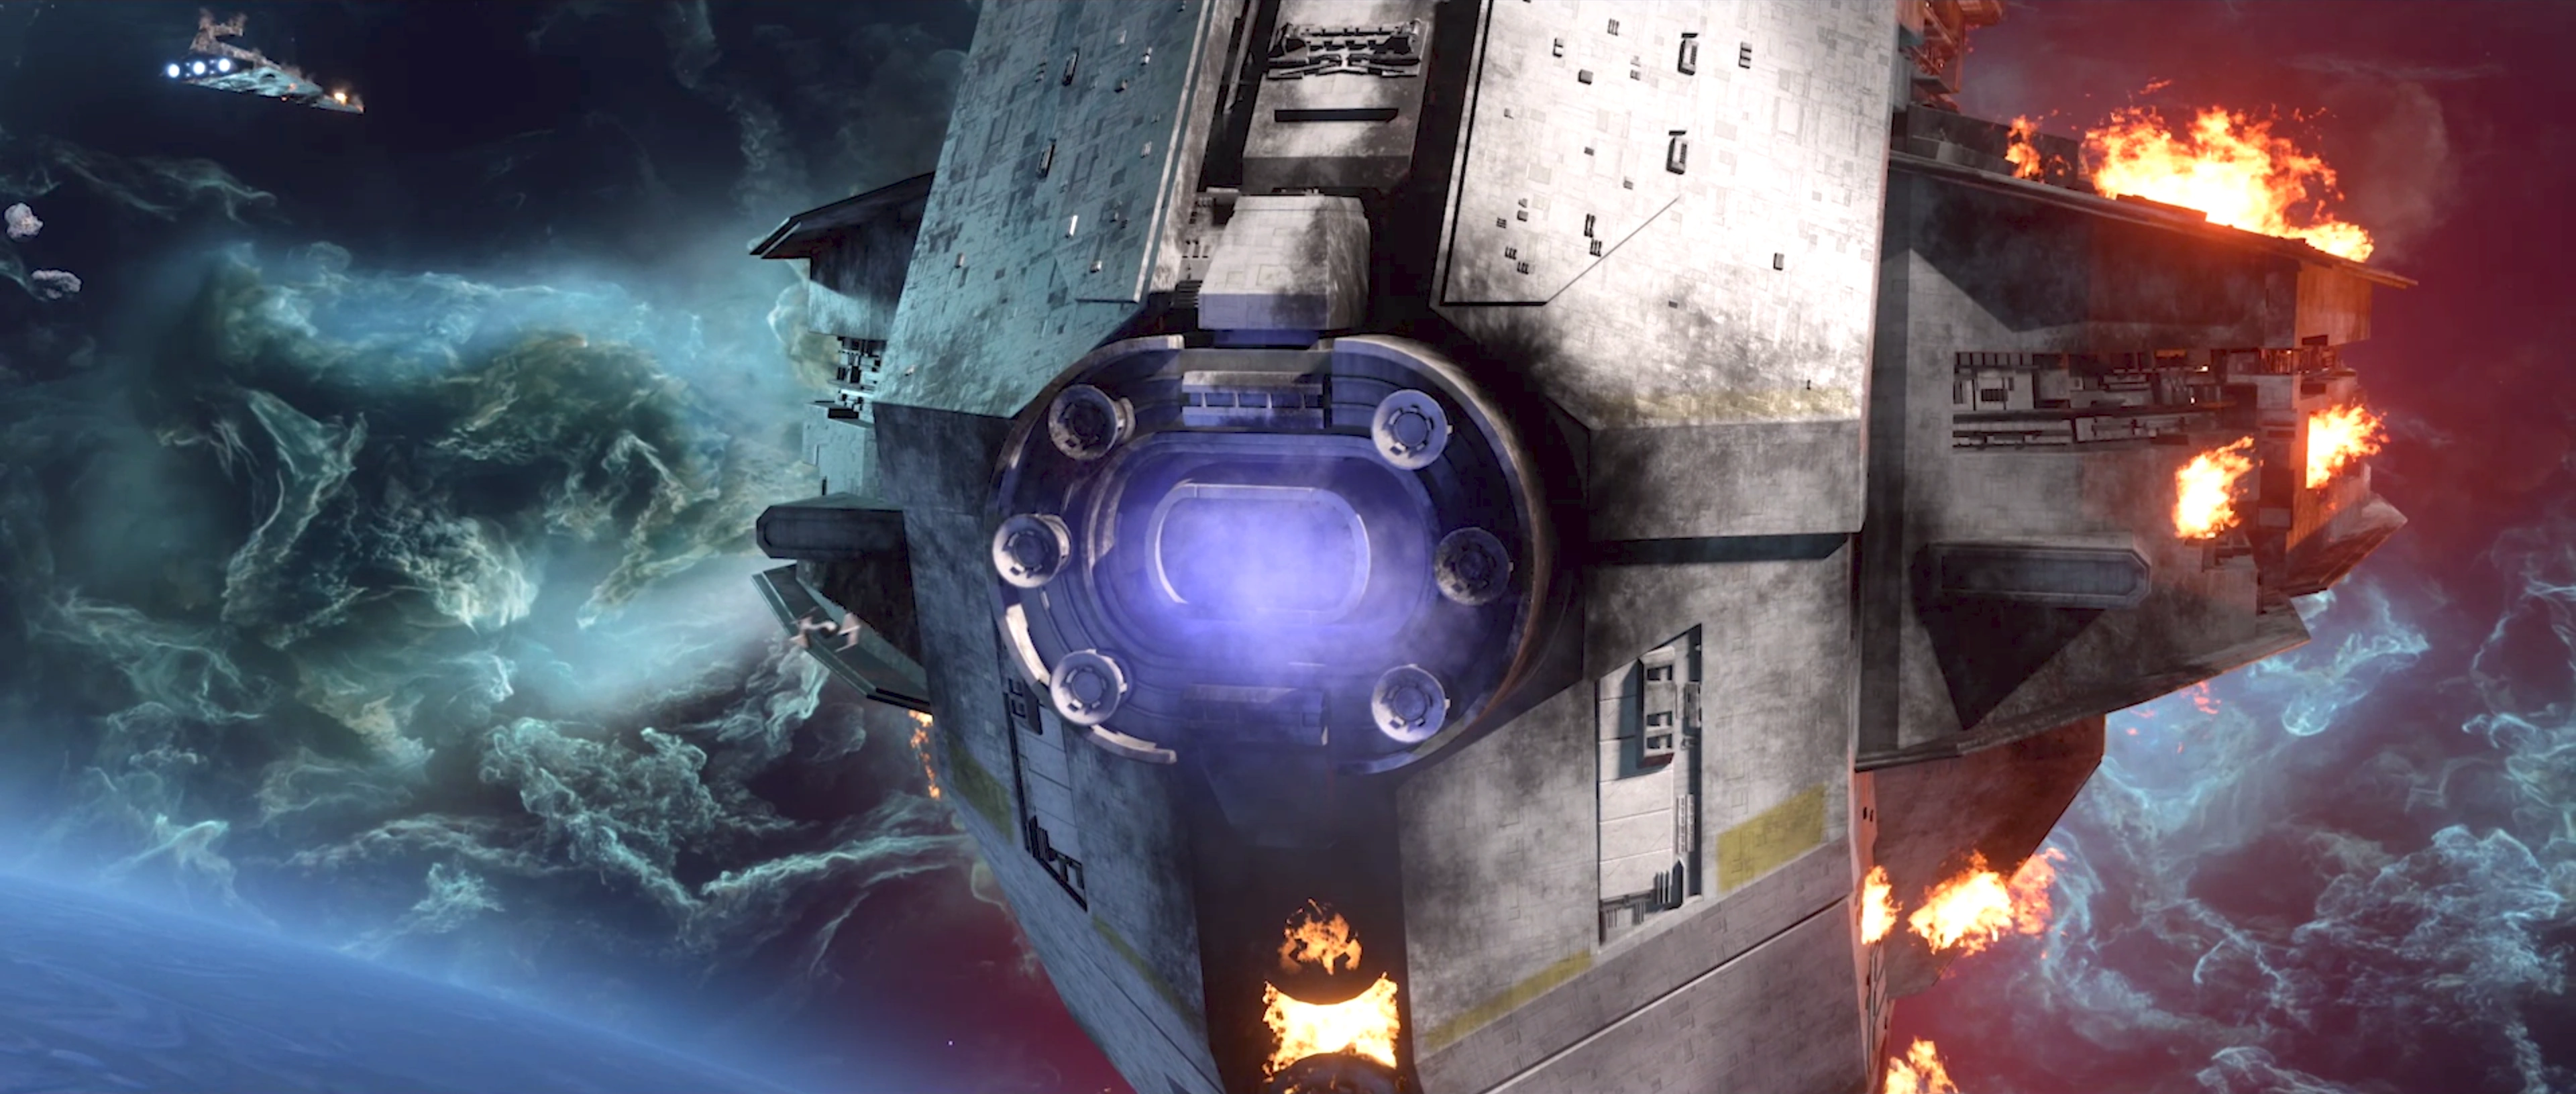
The Overseer and Titan Squadron were blocked from the Starhawk by an EF76 Nebulon-B escort frigate and half of Anvil Squadron. The other half of Anvil was with Lindon Javes attacking another Star Destroyer. Titan Squadron initiated their attack on Anvil Squadron, a second chance to reap chaos on Anvil since Mon Cala. The Nebulon-B frigate was quickly destroyed, but so was the Star Destroyer under attack by the rest of Anvil, freeing up reinforcements to counter Titan Squadron with another Nebulon-B frigate and a pair of CR90 corvettes, which were soon destroyed allowing Titan to reach the crippled Starhawk. One of the baradium missiles from the assault on the Nadiri Dockyards, was lodged unexploded, in the side of the hull. Titan Three fired upon the missile, creating an opening in the hull and a pathway into the ship's tractor beam core. Titan Three entered the interior of the ship and destroyed the gravity emitters, leaving the Starhawk in catastrophic overload and ready to destroy itself.[1]

The Overseer prepares withdraw
Javes and a flight of Anvil starfighters responded, with Titan Three and Javes going toe-to-toe in a duel around the Starhawk. After Javes' X-wing crashed into the crippled Starhawk, Captain Terisa Kerrill ordered the Imperial ships to withdraw, however the rest of the fleet refused and planned to eliminate the rebel fleet. Kerrill called them fools as their mission was complete, and with Titan Squadron safely onboard the Overseer jumped to Lightspeed, leaving the Starhawk to burn. Broadcasts of the Starhawk's destruction cowed a dozen rebelling systems.[1]
Last flight of the Starhawk[]
- "If we crash the Starhawk into the moon's core, the shockwave should destroy those Imperial ships and let us escape--if we're fast."
- ―General Syndulla, briefs Vanguard Squadron

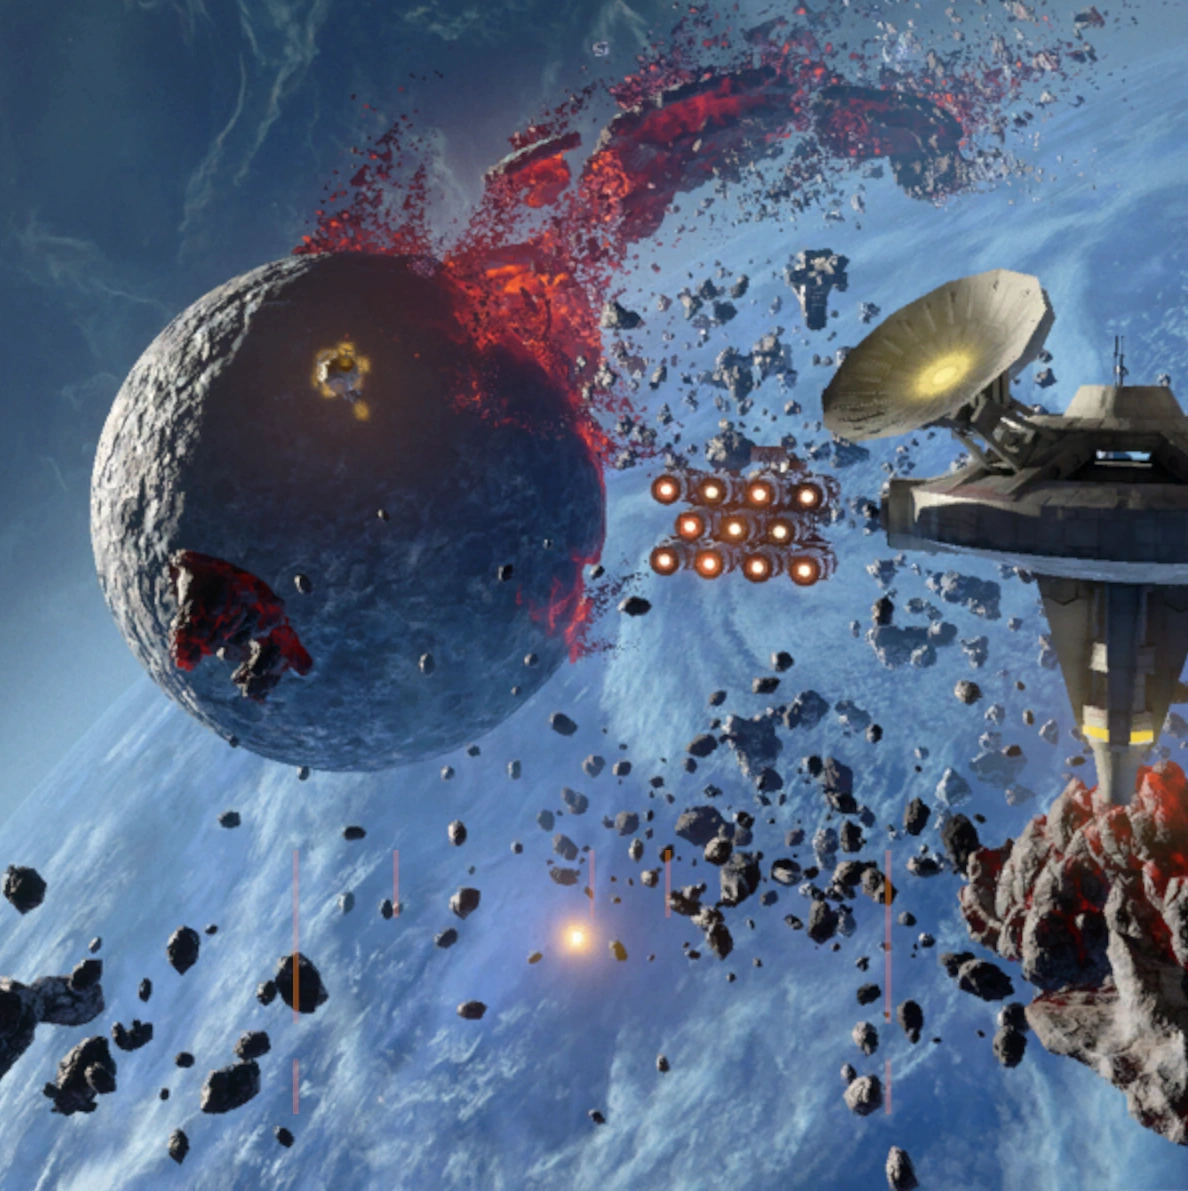
While Vanguard Squadron mourned the loss of Javes back on the Temperance, General Syndulla hatched a new plan to sacrifice the crippled Starhawk, to save the lives of its crew and engineers, and therefore Project Starhawk. The plan involved using the still functional tractor beam of the Starhawk, to tow it using a pair of corvettes, and crash it into the moon. The explosion would be enough to destroy all enemy ships within range. One Imperial II-class Star Destroyer was in the direct path of the Starhawk, so Vanguard launched an attack to destroy it. Once out of the way, Vanguard defended the corvettes from waves of TIEs and two Arquitens-class command cruisers.[1]

Starhawk crashing into the moon
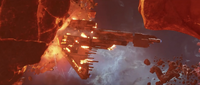
As soon as the Starhawk had enough velocity and was close enough to the moon, the corvettes retreated. An unexpected transmission from the Starhawk led Vanguard to learn that Javes survived the crash but his X-wing's weapons were offline. Vanguard continued to defend the crippled ship as it made its way closer to the moon and finally crashed into the moon's exposed core. The resulting massive explosion caused a shockwave, which destroyed all nearby ships and leaving behind a violent debris field of tumbling molten rocks. Javes led Vanguard through the debris field to the safety of the Temperance, where they were able to leave Galitan and on to Chandrila.[1]
Aftermath[]
- "Hope is like the sun."
- ―Princess Leia Organa

Despite sacrificing one Starhawk, the New Republic was able to build a fleet to combat the shattered Galactic Empire.
Although the Starhawk was destroyed, Project Starhawk continued due to the survival of its engineers, enabling the New Republic to build more Starhawk-class battleships. It was a massive blow to the Imperial fleet and with Terisa Kerrill unaware of Lindon Javes' survival, Commander Javes would guide the Republic's best and brightest from Nadiri.[1]
Behind the scenes[]
The battle of Battle of Galitan first appeared in the video game Star Wars: Squadrons . In the background of the final mission you can see other Capital ships and cruisers fighting each other and destroying one another.
Appearances[]
- Star Wars: Squadrons (First appearance)
Sources[]
Notes and references[]
- ↑ 1.00 1.01 1.02 1.03 1.04 1.05 1.06 1.07 1.08 1.09 1.10 1.11 1.12 1.13 1.14 1.15 1.16 1.17 1.18 1.19 1.20 1.21 1.22 1.23 1.24 1.25 1.26 1.27 1.28 1.29 1.30 1.31 1.32 1.33 1.34 1.35 1.36 1.37 1.38 1.39 1.40 1.41 1.42 1.43 1.44 1.45 1.46 1.47 1.48 1.49 1.50 1.51 1.52 1.53 1.54 1.55 1.56 1.57 1.58 1.59 1.60 1.61 1.62 1.63 1.64 1.65 1.66 1.67 1.68 1.69 1.70 1.71 1.72 1.73 Star Wars: Squadrons
- ↑ Shadow Fall
- ↑ Star Wars: Timelines