- "I am content with the Ninety-Sixth Task Force."
- ―Grand Admiral Thrawn
The Ninety-Sixth Task Force was a task force within the Imperial Navy that participated in the Battle of Sammun and the Batonn insurgency under Admiral Thrawn. Following his victory at Batonn, Thrawn was promoted to Grand Admiral, and left the task force and took with him his flagship the Chimaera to command the Seventh Fleet.[1]
Description
- "All ships, report in."
- ―Admiral Thrawn

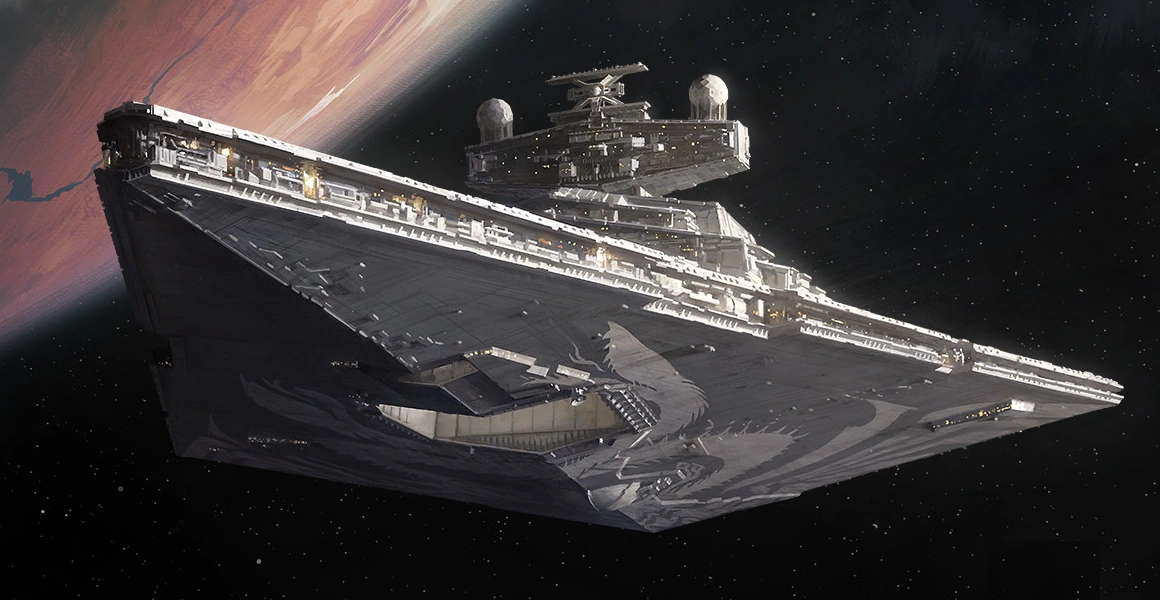
The Chimaera was the flagship of Thrawn and the Ninety-Sixth.
The Ninety-Sixth Task Force was an anti-insurgency task force in the Imperial Navy, responsible for eliminating rebellious activity among the Empire's holdings in the Outer Rim Territories.[2] It boasted six primary starships under Admiral Thrawn,[1] including his flagship, the Imperial I-class Star Destroyer Chimaera,[2] until it left to lead the Seventh Fleet along with Thrawn himself. The group also had three Arquitens-class light cruisers—the Flensor, the Shyrack, and the Tumnor—as well as two frigates.[1]
At a smaller scale, the Ninety-Sixth Task Force consisted of numerous TIE fighters, as well as assault boats. Thrawn also made use of the Slipknot,[1] a YT-2400 light freighter,[3] as part of his intelligence gathering on the Batonn insurgents. Thrawn also possessed a Lambda-class T-4a shuttle[1]
History
Early history and assignment to Sammun
- "May I introduce Admiral Durril of the ISD Judicator and the One Oh Third Task Force; Admiral Kinshara of the ISD Stalwart and the One Twenty-Fifth. Admiral Thrawn of the ISD Chimaera, recently assigned the Ninety-Sixth."
- ―Fleet Admiral Jok Donassius
Active in the Imperial Era, the Imperial Ninety-Sixth Task Force was commanded by Admiral Thrawn. The Chiss admiral originally commanded the Imperial-class Star Destroyer Chimaera as a stand-alone warship for the Empire when he was a commodore, but upon his promotion to lead the Ninety-Sixth Task Force, the vessel became the force's flagship.[1]
Fleet Admiral Donassius called upon Durril's One Oh Third Task Force to combat the Batonn insurgents.
At some point, Thrawn was summoned by Fleet Admiral Jok Donassius to the planet Coruscant, along with Admirals Durril and Kinshara of the One Oh Third and One Twenty-Fifth task forces, respectively. This was to discuss the growing threat posed by several allied groups of insurgents operating in the Batonn sector in the Outer Rim.[1]
Thrawn was originally tasked with assaulting the planet Batonn first, as it was the focal point of rebel activity in the sector. His target was Scrim Island, an armed facility with around a hundred hostages that had been taken over by insurgents five days prior to the meeting. Thrawn, however, was concerned with the three ion cannons and energy shield defending the facility, and was quickly confronted by Durril, who dismissed the Chiss's plan of a breach from above in favor of a low-altitude incursion with assault boats full of stormtroopers.[1]
Thrawn considered this solution, but he believed the island's shoreline defenses could repel such an attack, and so requested more time to study the situation. However, Donassius denied this request, instead ordering immediate action, such as the destruction of the island. Thrawn refused this option due to the presence of the prisoners, and so Donassius reassigned the attack on Scrim Island to Durril's One Oh Third Task Force, with the Ninety-Sixth instead ordered to attack the world of Sammun.[1]
Victory at Sammun
Splitting the task force
- "You are to take the task force to Sammun. There is insurgent activity there that we are tasked with eliminating."
"Yes, sir. You say I'm to take the force? You won't be with us?"
"That is correct. Commander Vanto and I have an errand elsewhere." - ―Thrawn instructs Faro of her task to take Sammun

Thrawn and Vanto studying Durril's attempt to capture Scrim Island
Following the meeting, Thrawn and his aide, Commander Eli Vanto, shared their belief that Durril's attack on Skrim Island would fail due to his overconfidence. However, Thrawn maintained that the One Oh Third must be allowed to attempt the battle. After studying Sammuni art on a datapad, Thrawn contacted the Chimaera's captain, Commander Karyn Faro, informing her that he and Vanto would not be returning to the Star Destroyer, and that she would be in charge of leading the task force against the Sammuni insurgents.[1]
Thrawn instructed the inexperienced commander to enter the system at a distance, then to immediately disperse the rest of the task force. Then, that the Chimaera should be used to approach Sammun and demand the surrender of the insurgents, using its turbolasers if necessary to penetrate their shields and bunkers so as to draw them out of their positions. The rest of the task force would then be able to capture the fleeing enemy ships with the destruction of only a few of them necessary, as Thrawn predicted their instinct would be to flee to the safety of space.[1]
Before Faro set off for Sammun, Thrawn also requested the Arquitens-class light cruiser Shyrack be despatched for his own use. Then, the admiral contacted the Shyrack's captain, Brento, instructing her to observe the battle at Batonn, and wait to rescue the One Oh Third Task Force upon its failure to take Scrim Island. Thrawn and Vanto also set off for Batonn in the freighter Slipknot, which had been taken from their most recently defeated smuggler gang, in order to observe Durril's attempts to defeat the insurgents.[1]
Double aftermath
- "I can take back the island whenever you wish."
"Good. At your convenience, Admiral." - ―Admirals Thrawn and Donassius
At Batonn, Thrawn's hypothesis of Durril's attempt was confirmed, as much of the One Oh Third was disabled by Scrim Island's ion cannons and turbolaser, which alternated firing by the insurgents temporarily contracting a small area of their energy shield. This tactic was effective against Durril, as he failed to notice the patterns of his enemy's attacks. This was all witnessed by Thrawn and Vanto from the Slipknot, who transmitted an emergency distress signal on the task force's behalf upon their defeat. The pair then pursued a freighter escaping from the island to space, while the Shyrack observed seven other enemy craft, which escaped to different strongpoints on Batonn's main continent. Once the Slipknot was gone, the Shyrack also coordinated the One Oh Third Task Force's remaining functional ships, the tractor beams of which were then used to pull the Durril's command ship Judicator out of danger.[1]


Thrawn prepares to inform Fleet Admiral Donassius of his task force's success at Sammun.
Later, Thrawn and Vanto returned to the Chimaera, after a successful mission finding information on the insurgents' leader, Nightswan. In Batonn's orbit, on the Star Destroyer's bridge,[4] the Chiss, Vanto, and Faro were present for a hologram meeting between the various commanders active in the sector. There, Thrawn reported on the success of Commander Faro and the Ninety-Sixth at Sammun, which had resulted in the destruction of two enemy ships, and the capture of four more ships, as well as a considerable array of small-arms ordnance. Although Fleet Admiral Donassius did note that Thrawn was not actually present for this battle, he was not bothered by this fact, being more troubled by Durril's failure to capture Scrim Island. He ordered the One Oh Third away for repairs, and gave Thrawn permission for a second assault on the island, which Thrawn agreed to now that he had collected more intelligence on the insurgents.[1]
The return to Scrim Island
Initial attack
- "Interesting plan. At the very least it holds the prospect of taking them by surprise."
- ―Commander Faro
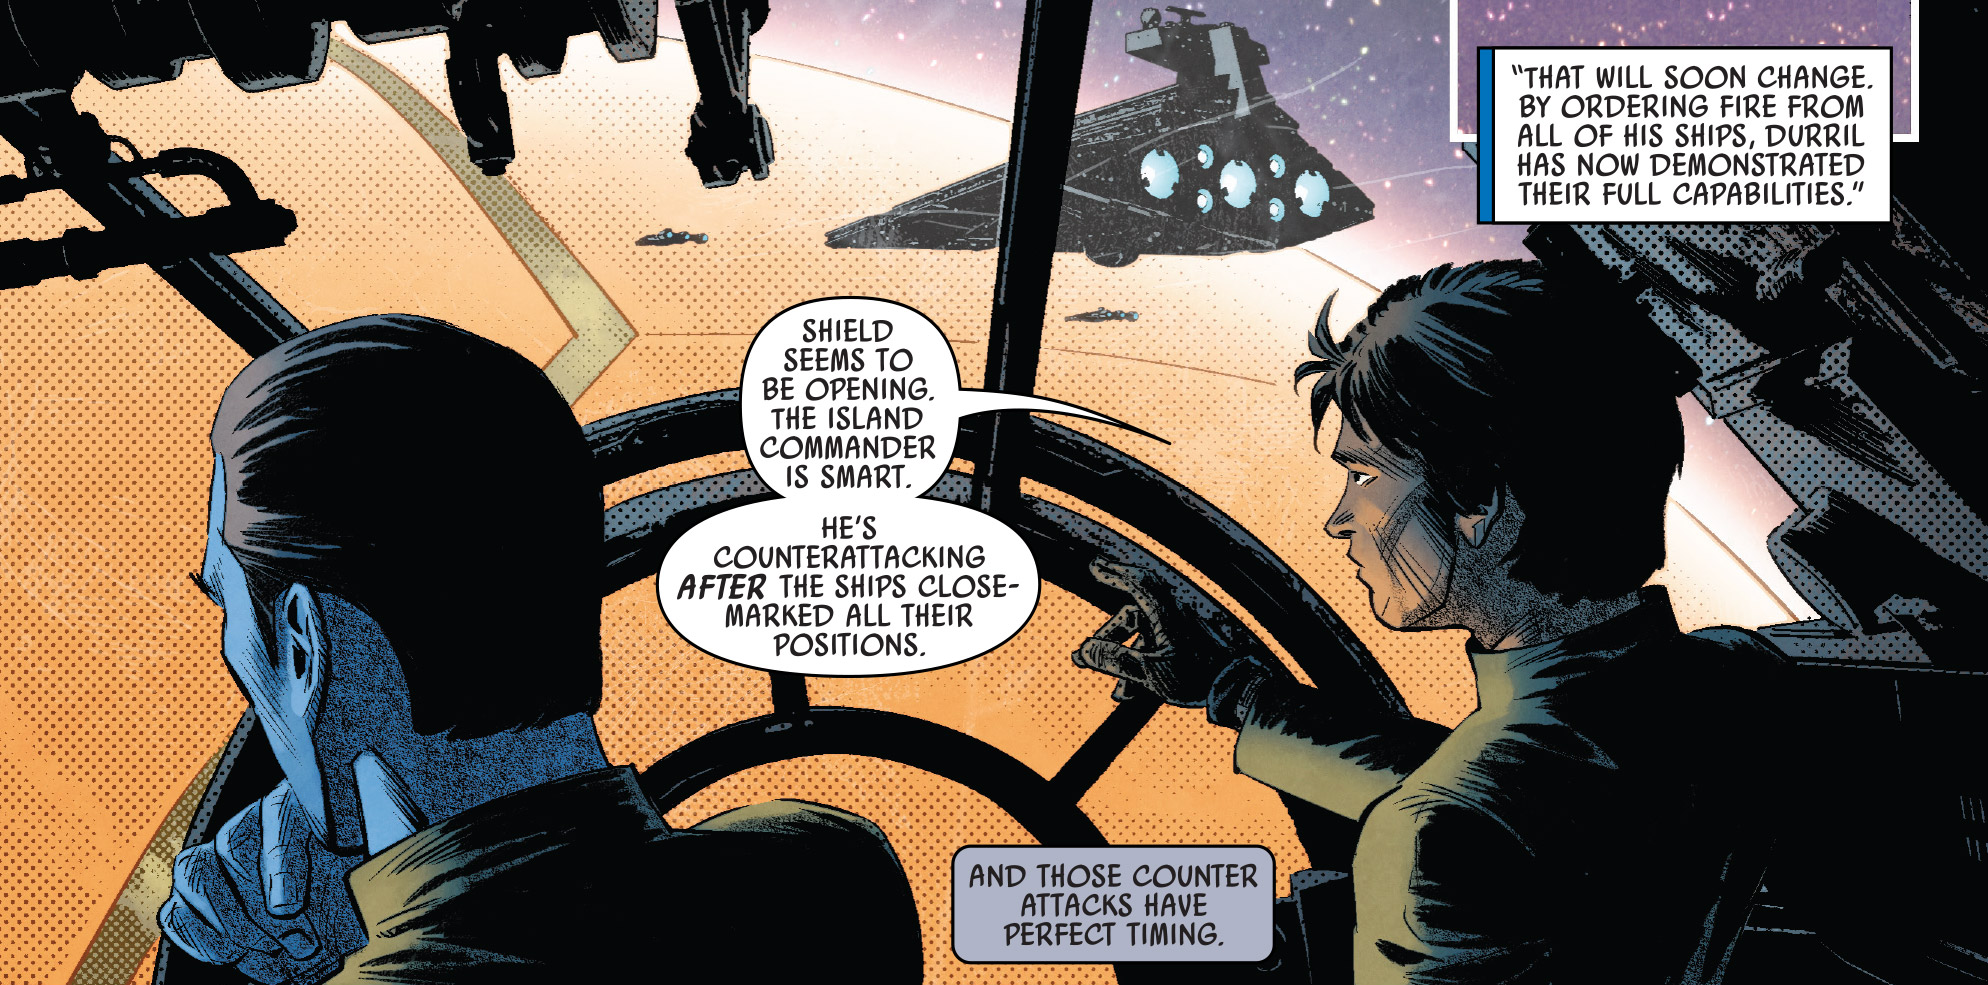
For taking Scrim Island, Thrawn opted for a plan designed to take the insurgents by surprise. After calling for a final check of the task force's ships, the admiral riskily ordered the Flensor, Shyrack, and Tumnor to move in to the planet while the Chimaera held position, putting the light cruisers into harm's way. The trio then began their turbolaser bombardment of the island facility. Although initially ineffective against the energy shield, as the cruisers neared the surface, their blasts would gain more power, to the point that they would eventually stress the shield and possibly overload the generator. This risk forced the insurgent to make a move against the attack, as they did when the Ninety-Sixth's ships were in the upper atmosphere. They simultaneously contracted their shield from the entire shoreline, allowing all three of their ion cannons to fire upward at the oncoming craft.[1]
Thrawn then ordered the three light cruisers to shift their targeting vectors from the center of the shield toward the newly exposed targets. However, Thrawn was caught unaware by the exposure of a fourth ion cannon on the southeast shore, which had not been used during Durril's assault. The Shyrack attempted to modify its firing vector to concentrate on the new target, but it was too slow, and was hit by the ion blasts, disabling its sensors and weapons. Before the Flensor and Tumnor could shift their own aim, the fourth ion cannon targeted them too, also silencing their weapons.[1]


The Ninety-Sixth Task Force
Although Thrawn had not been aware of a fourth cannon from observing Durril's attack, he had anticipated complications, and so the presence of the weapon did not pose a threat to his plan, or dissuade him. Although the light cruisers had lost primary weapons and main drives, their communications, select secondary weapons, and auxiliary drives were still operational. So, Thrawn then commanded the Flensor, Shyrack, and Tumnor to one by one move to assigned positions via auxiliary drive. The admiral then contacted the latter cruiser, asking its captain, Yelfis, on the condition of the fourth ion cannon, as the Tumnor had been hit last. Yelfis reported it had been spluttering, with their engineering officer saying that was a sign of the cathtron tube emitter being in the process of burning out, which rendered that ion canon expended.[1]
Thrawn's ingenuity
- "Impact! Tsunami-scale wave has slammed into the western shoreline."
- ―The Ninety-Sixth's second frigate's observer
With the three cruisers in position, the Chimaera was taken into the atmosphere by Commander Faro, positioning itself behind behind those craft as it moved closer to Batonn's surface. As the Flensor's captain warned that the northern ion cannon was about to fire, Thrawn and Faro compensated the Chimaera's position, successfully hiding it behind the smaller craft so those could be hit with the ion fire instead. Brento then warned the Star Destroyer of the western cannon, with the ships again modifying their positions to keep the Ninety-Sixth's flagship protected. As they continued to move inward, the light cruisers continued to block all ion fire targeted at the Chimaera, although this meant the Chimaera could not fire on the island targets, as they were blocked by the cruisers. However, once the Chimaera had reached optimum firing distance from the island, Thrawn ordered his turbolasers to fire, not at the island, but at Target One in the ocean surrounding it, which was not protected by the shield.[1]
The Ninety-Sixth's two frigates, which were flying observation high over the battle zone, reported tsunami-scale waves hitting the western shoreline, which had been caused by Thrawn's initial bombardment of Target One, making contact with that shore's ion cannon. Then, the admiral ordered his guns at Target Two, which resulted in a more severe swamping at the site of the island's turbolaser. Thrawn then alternated fire between the two targets, just as the shield started to retract over the turbolaser to let it fire. However, second tsunamis then hit both targets, flooding the west ion cannon and causing an explosion at the turbolaser, disabling it.[1]
Victory
- "Scrim Island, this is Admiral Thrawn aboard the ISD Chimaera. Lower your shield and surrender, or we will continue to inundate your heavy weapons and shore defenses until they have been destroyed and those operating them killed. Repeat: Lower your shield and surrender or be destroyed."
- ―Admiral Thrawn
Having demonstrated his advantage, Thrawn opened a transmission to the island, ordering them to lower their shield and surrender, or have the remainder of their defences destroyed. When no response came, the admiral ordered alternate fire between targets Targets One and Three, and alerted his assault boats for imminent action. Just as the two new tsunamis hit the island, and a fire stated at the already destroyed insurgent turbolaser, the shield fell and the Chimaera's comm officer reported the insurgent leader was formally asking for terms. Thrawn ordered he and his men to leave their weapons in the buildings and to await Imperial assault boats outside, threatening deadly force at any further resistance or harm to the hostages.[1]
Thrawn, heading back from his position at the front of the Chimaera's command walkway, told Vanto he could inform Coruscant of their victory. He then instructed Faro to oversee the tractoring the three cruisers out of Batonn's gravity well once the island had been fully retaken, so they could receive repairs.[1]
Capturing Batonn
Plan of attack
- "I want to go down there, reacquaint myself with my parents and their friends, and get a close-up look at the insurgents' defenses and weapons setup. That way, when you send in your forces, they won't go in blind."
- ―Governor Pryce
Several days after Thrawn was assigned to take Scrim Island,[4] Imperial Security Bureau Colonel Wullf Yularen and Governor Arihnda Pryce, both of whom were allies of the admiral, met with him on the Chimaera above Batonn. In its meeting room, Thrawn explained how the insurgents' main stronghold was located at the Creekpath Mining and Refining complex outside Paeragosto City, which Vanto had deduced by tracking the shipping vectors of the freighters that escaped Scrim Island. Thrawn planned to attack the facility in force as, like Scrim, it possessed a shield preventing orbital bombardment. Furthermore, there was a strong civilian presence around the facility, totally roughly thirty-thousand.[1]
Pryce proposed she go down to the city herself, as her parents lived there, which would allow her to inspect the insurgents' weapons and defences, giving Thrawn an insight into his enemy, and perhaps allowing her to deactivate the shield. Yularen arranged for the governor to enter the combat zone with his agent, Gudry, under the pretence of looking for a friend mixed up in the mining situation. Although Thrawn did not approve of the plan on safety and effectiveness issues, he had to concede the issue, as he had little authority due to Batonn and Paeragosto City not yet being considered full military zones.[1]
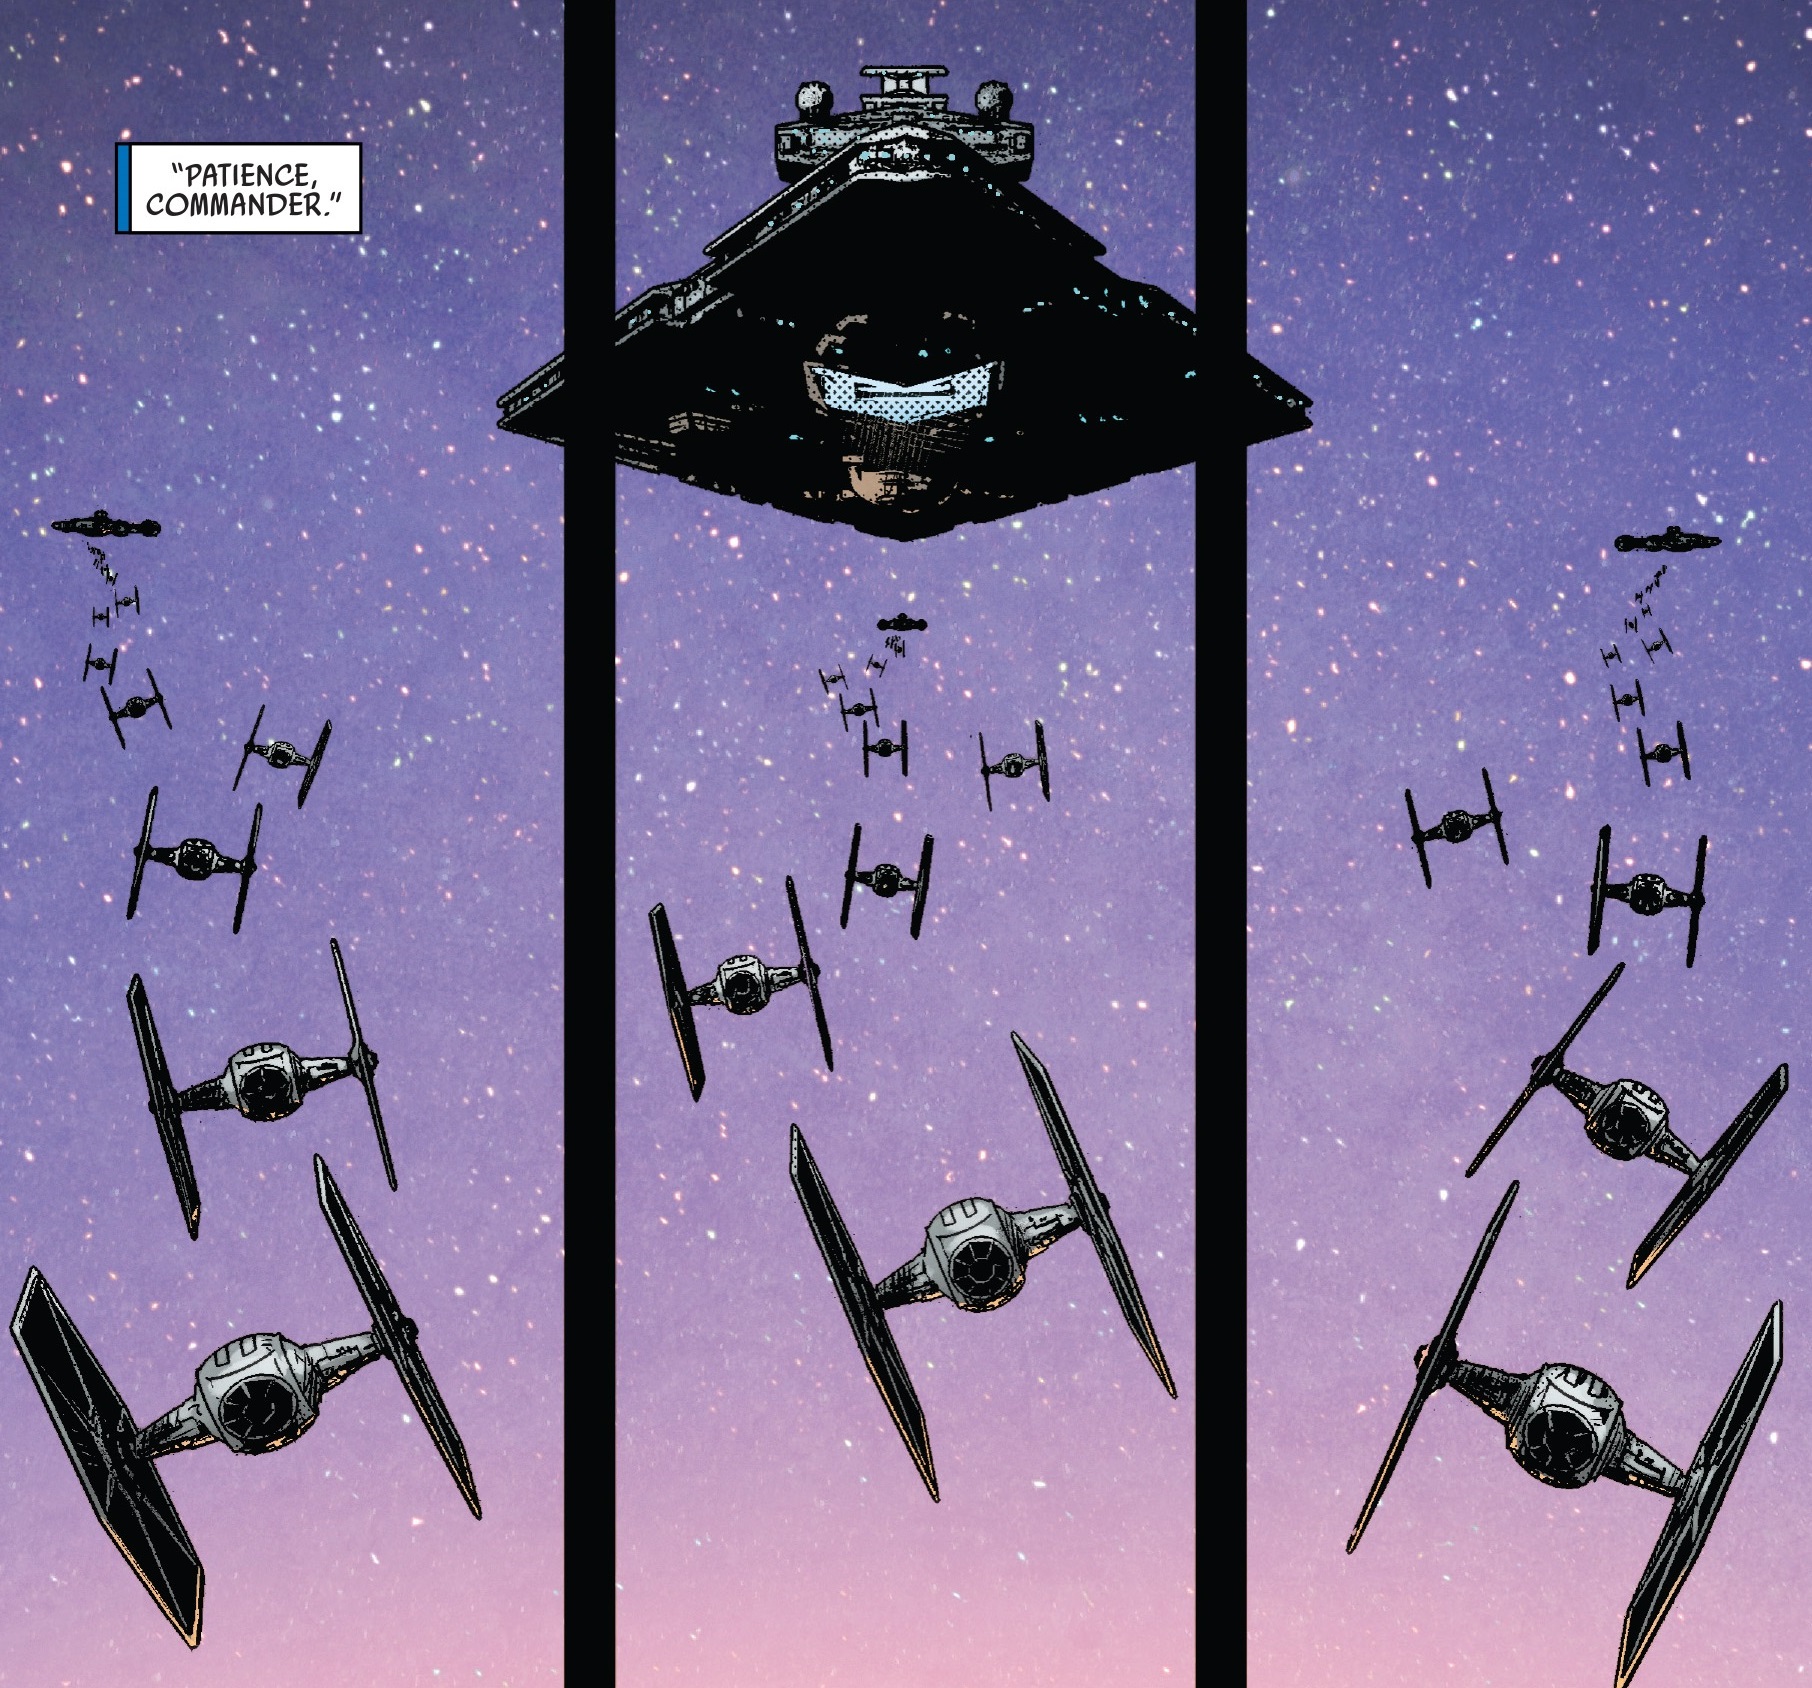
Before Yularen and Pryce's departure, the colonel handed Vanto the necessary comms card to keep in contact with the governor. Vanto then told him Thrawn had already been in contact with Imperial ground forces and they were coordinated to attack when needed. However, before he left, Yularen expressed his concern to the young aide at Thrawn's positioning of the Ninety-Sixth. After sustaining heavy damage at Scrim, the three light cruisers were assembled at the corners of an equilateral triangle nearly a hundred kilometers on a side, away from the Chimaera, being affixed to heavy maintenance tugs and repair barges. This made them extremely vulnerable to attack from space, which Admiral Kinshara's prisoners had suggested the insurgents were capable of. Thrawn had said previously that the ships were in that formation so the barges would not get in each others' way. However, the true, secret reason for the seemingly illogical layout was that the repair barges were hiding TIE fighters borrowed from the One Oh Third, which could jump out and flank passing enemy ships.[1]

The insurgents were flanked by One-Oh-Third TIE fighters.
Thrawn's departure
Commanders and crew
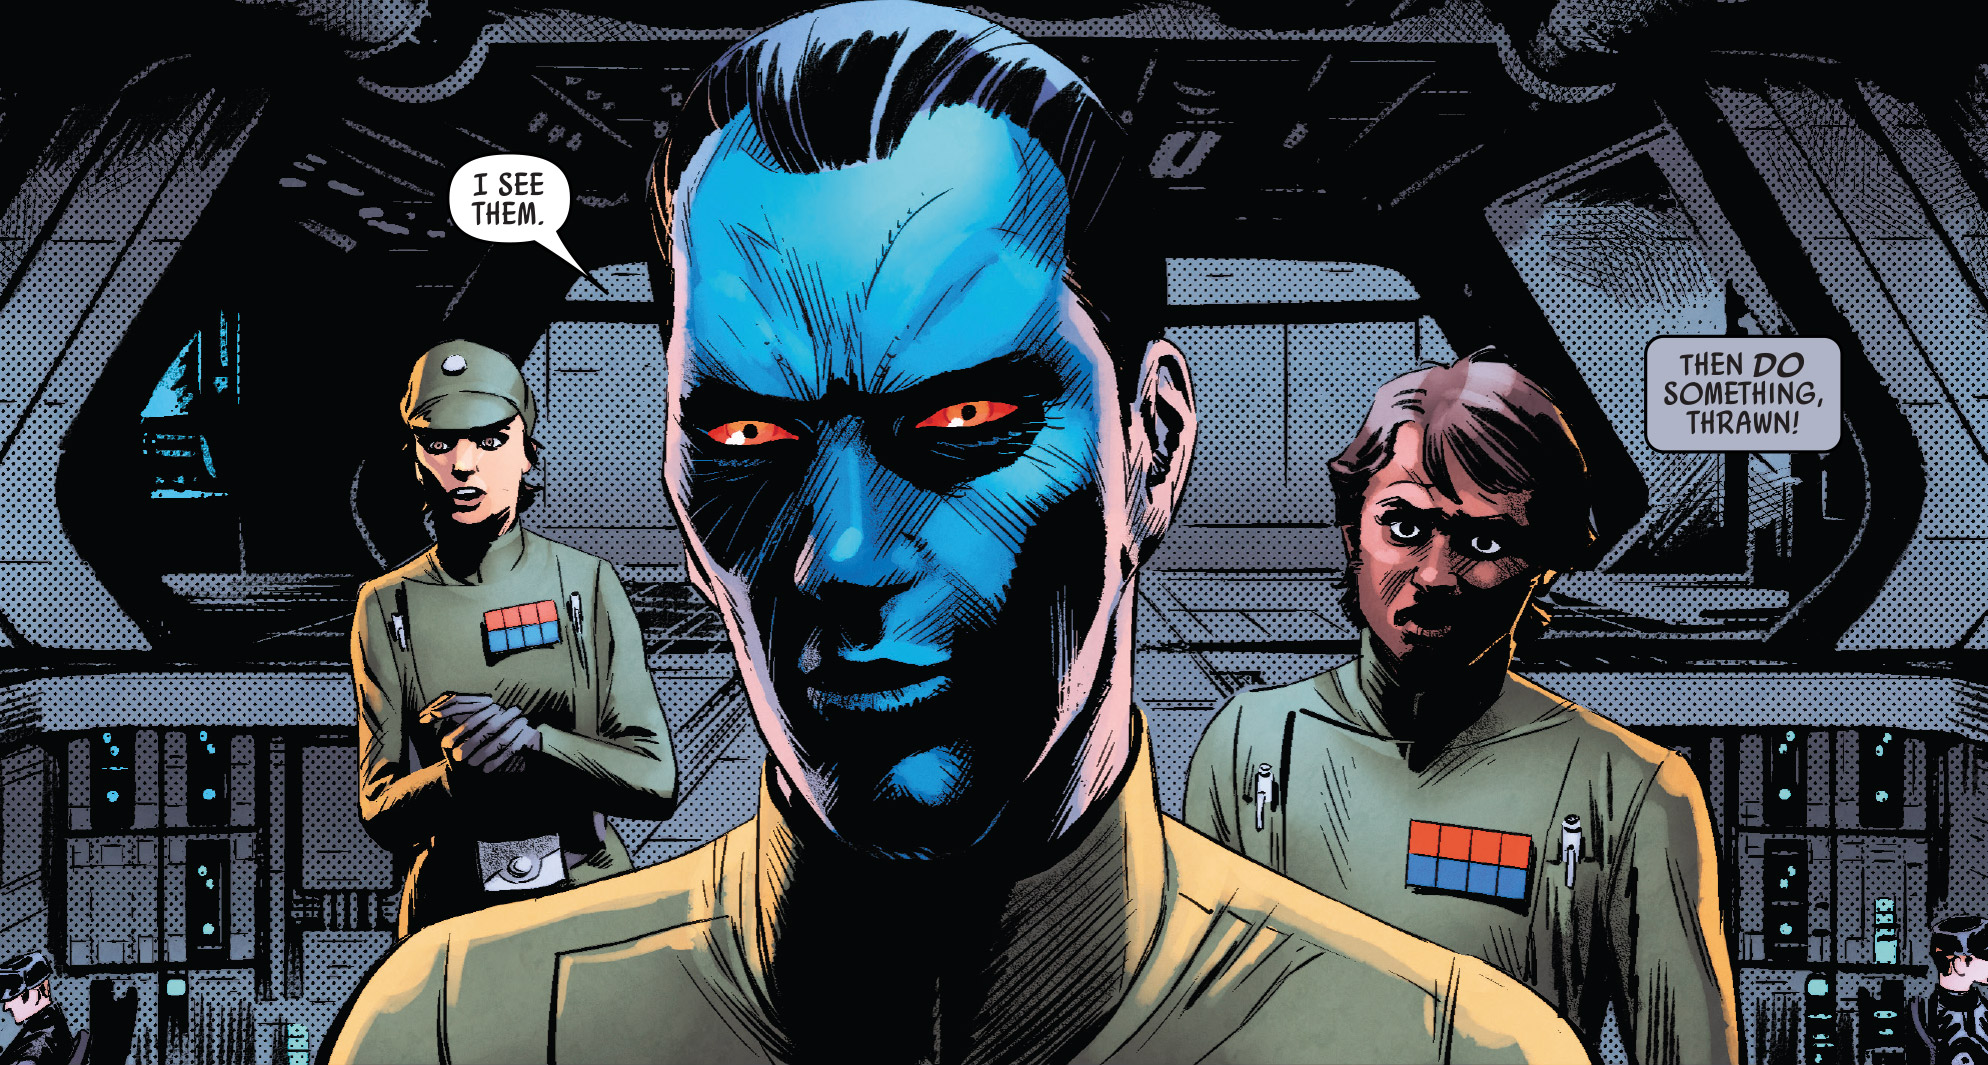
Thrawn
- "You really think all the captains and their senior officers out there in the Ninety-Sixth understand how this is going to work?"
- ―Commander Faro, on Thrawn's often mysterious tactics
Admiral Mitth'raw'nuruodo, more commonly known as "Thrawn," led the Ninety-Sixth Task Force during the Batonn sector insurgency. As commander of the task force, Thrawn commonly drew on the opinions of lower-ranking officers, also testing them as to the purpose of his military strategy. However, even as admiral, Thrawn lacked political knowhow, looking to allies such as Colonel Yularen and Governor Pryce to aid him in in the etiquette of politics.[1]
Other officers
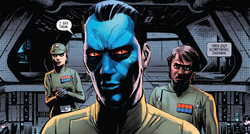
Officers Faro, Thrawn, and Vando, of the Ninety-Sixth Task Force
Assisting Thrawn on the Chimaera's bridge was his aide, Commander Eli Vanto, and the Star Destroyer's captain, Commander Karyn Faro. Senior Lieutenant Lomar held the role of senior communications officer on the bridge.[1]
Captain Brento commanded the light cruiser Shyrack, and Yelfis was the captain of the Tumnor. They were often in communication with Thrawn during combat, with the admiral asking them for their observations, and them relaying their ship's progress.[1]
Behind the scenes
The Ninety-Sixth Task Force first appeared in the 2017 novel Thrawn, written by Timothy Zahn.[1] On June 13, 2018,[5] it was first pictured in Thrawn 5, a Marvel comic adaptation of the original book written by Jody Houser, and illustrated by Luke Ross.[4]
Appearances
- Thrawn (First appearance, simultaneous with Thrawn audiobook)
- Thrawn audiobook (First appearance, simultaneous with Thrawn)
- Thrawn 4 (Mentioned only)
- Thrawn 5 (First pictured)
- Thrawn 6
Sources
- Dawn of Rebellion (Indirect mention only)
Notes and references
- ↑ 1.00 1.01 1.02 1.03 1.04 1.05 1.06 1.07 1.08 1.09 1.10 1.11 1.12 1.13 1.14 1.15 1.16 1.17 1.18 1.19 1.20 1.21 1.22 1.23 1.24 1.25 1.26 1.27 1.28 1.29 1.30 1.31 1.32 1.33 1.34 1.35 1.36 1.37 1.38 1.39 1.40 1.41 1.42 1.43 1.44 1.45 Thrawn
- ↑ 2.0 2.1 2.2 Dawn of Rebellion
- ↑ Thrawn 4
- ↑ 4.0 4.1 4.2 Thrawn 5
- ↑
 Star Wars: Thrawn (2018) #5 on Marvel Comics' official website (backup link)