Warning: This infobox has missing parameters: prev and unrecognized parameters: previous
- "Billions of beings now look forward to a secure future. The Empire will grow as more planets feel the call, from the Rim to the wilds of unknown space."
- ―Emperor Palpatine
The Reconquest of the Rim was the Galactic Empire's series of campaigns to pacify the Outer Rim Territories after the end of the Clone Wars and the Declaration of a New Order. The successful operations against Separatist holdouts, pirates, and slavers, which lasted from 19 BBY to 17 BBY, were a great victory for the Empire, both physical and psychological; the Outer Rim was secured, and the New Order won widespread support for finally crushing lawlessness in the region.
Prelude
The Clone Wars brought the Grand Army of the Republic to the previously neglected Rim, pushing back the Hutt sphere of influence and controlling the far-flung worlds of the galaxy by means of military occupation. The Tion Cluster was home to the civilian Separatist government, and the Corporate Sector had pledged allegiance to the Confederacy, bringing the front lines of the war to the Outer Rim. The Outer Rim Sieges ended with victory for the new Empire, but the Rim was not yet fully under Imperial control.[1]
For a month, the sentients of Nar Shaddaa celebrated the end of the war in clubs and cantinas, not for the same reasons many in the central regions welcomed the new Empire, but because they believed that the Emperor would focus on consolidating power in the Core, leaving worlds in the Mid and Outer Rims to their own devices. Nar Shaddaans hoped that this would give smugglers freedom to work the space lanes after having to sidestep the Republic and Separatist armies for three years, and the market for spice and other proscribed goods could once again open up.[2]
The reconquest
The campaigns of 19 BBY
The large-scale mobilization of forces that marked the last phase of the Clone Wars was not halted with the creation of the Empire. Emperor Palpatine, determined to unite the entire galaxy under his rule, deployed his armies in the Mid and Outer Rims to eradicate Separatist holdouts and the forces of lawlessness that had plagued the outlying regions in the last years of the Republic. The three main fronts of the Reconquest of the Rim in 19 BBY were the Ciutric sector, the former Foundry of the Confederacy and the Five Veils Route.[1]
The Ciutric Offensive


General Hurst Romodi leading from the open hatch of a Floating Fortress.
After the massacre of the Separatist leadership by Darth Vader, Confederate forces driven from Muunilinst and Mygeeto retreated across the Void of Chopani and established a power base in the Ciutric sector. Funding came from shadowy interests on Serenno and Celanon, and military support from pirates and Thalassian slavers who joined their cause as privateers. The 10th Sector Army mobilized from Axxila to crush this new threat to Imperial dominance, with Admiral Screed in command of the naval forces and General Romodi in command of the ground forces.[1]
The Battle of Vinsoth was a victory for the Empire and for Screed, forcing the Muun leadership of the Ciutric Separatists to flee to Binquaros, where they dug in for a siege. While General Romodi led his forces against the Muuns, Admiral Screed pursued the holdouts' ships to Bimmiel. The Imperial forces won a victory with overwhelming losses for the other side in the Battle of Bimmiel, but the Battle of Binquaros did not end well for the Empire. A coalition of pirates and Mandalorians driven off the Salin Corridor by the Imperial military in engagements at Fenion, Phindar and Sheris joined forces with Serennian mercenaries and broke the siege of Binquaros. The Separatists fled Binquaros and headed for the Unknown Regions. Before they could find a safe haven, they were betrayed by a pirate captain and crushed by Screed and Romodi at Vardoss. The Assault on Vardoss IV ended the Ciutric Offensive, and the Empire secured the region.[1]
The Sy Myrthian Insurrection

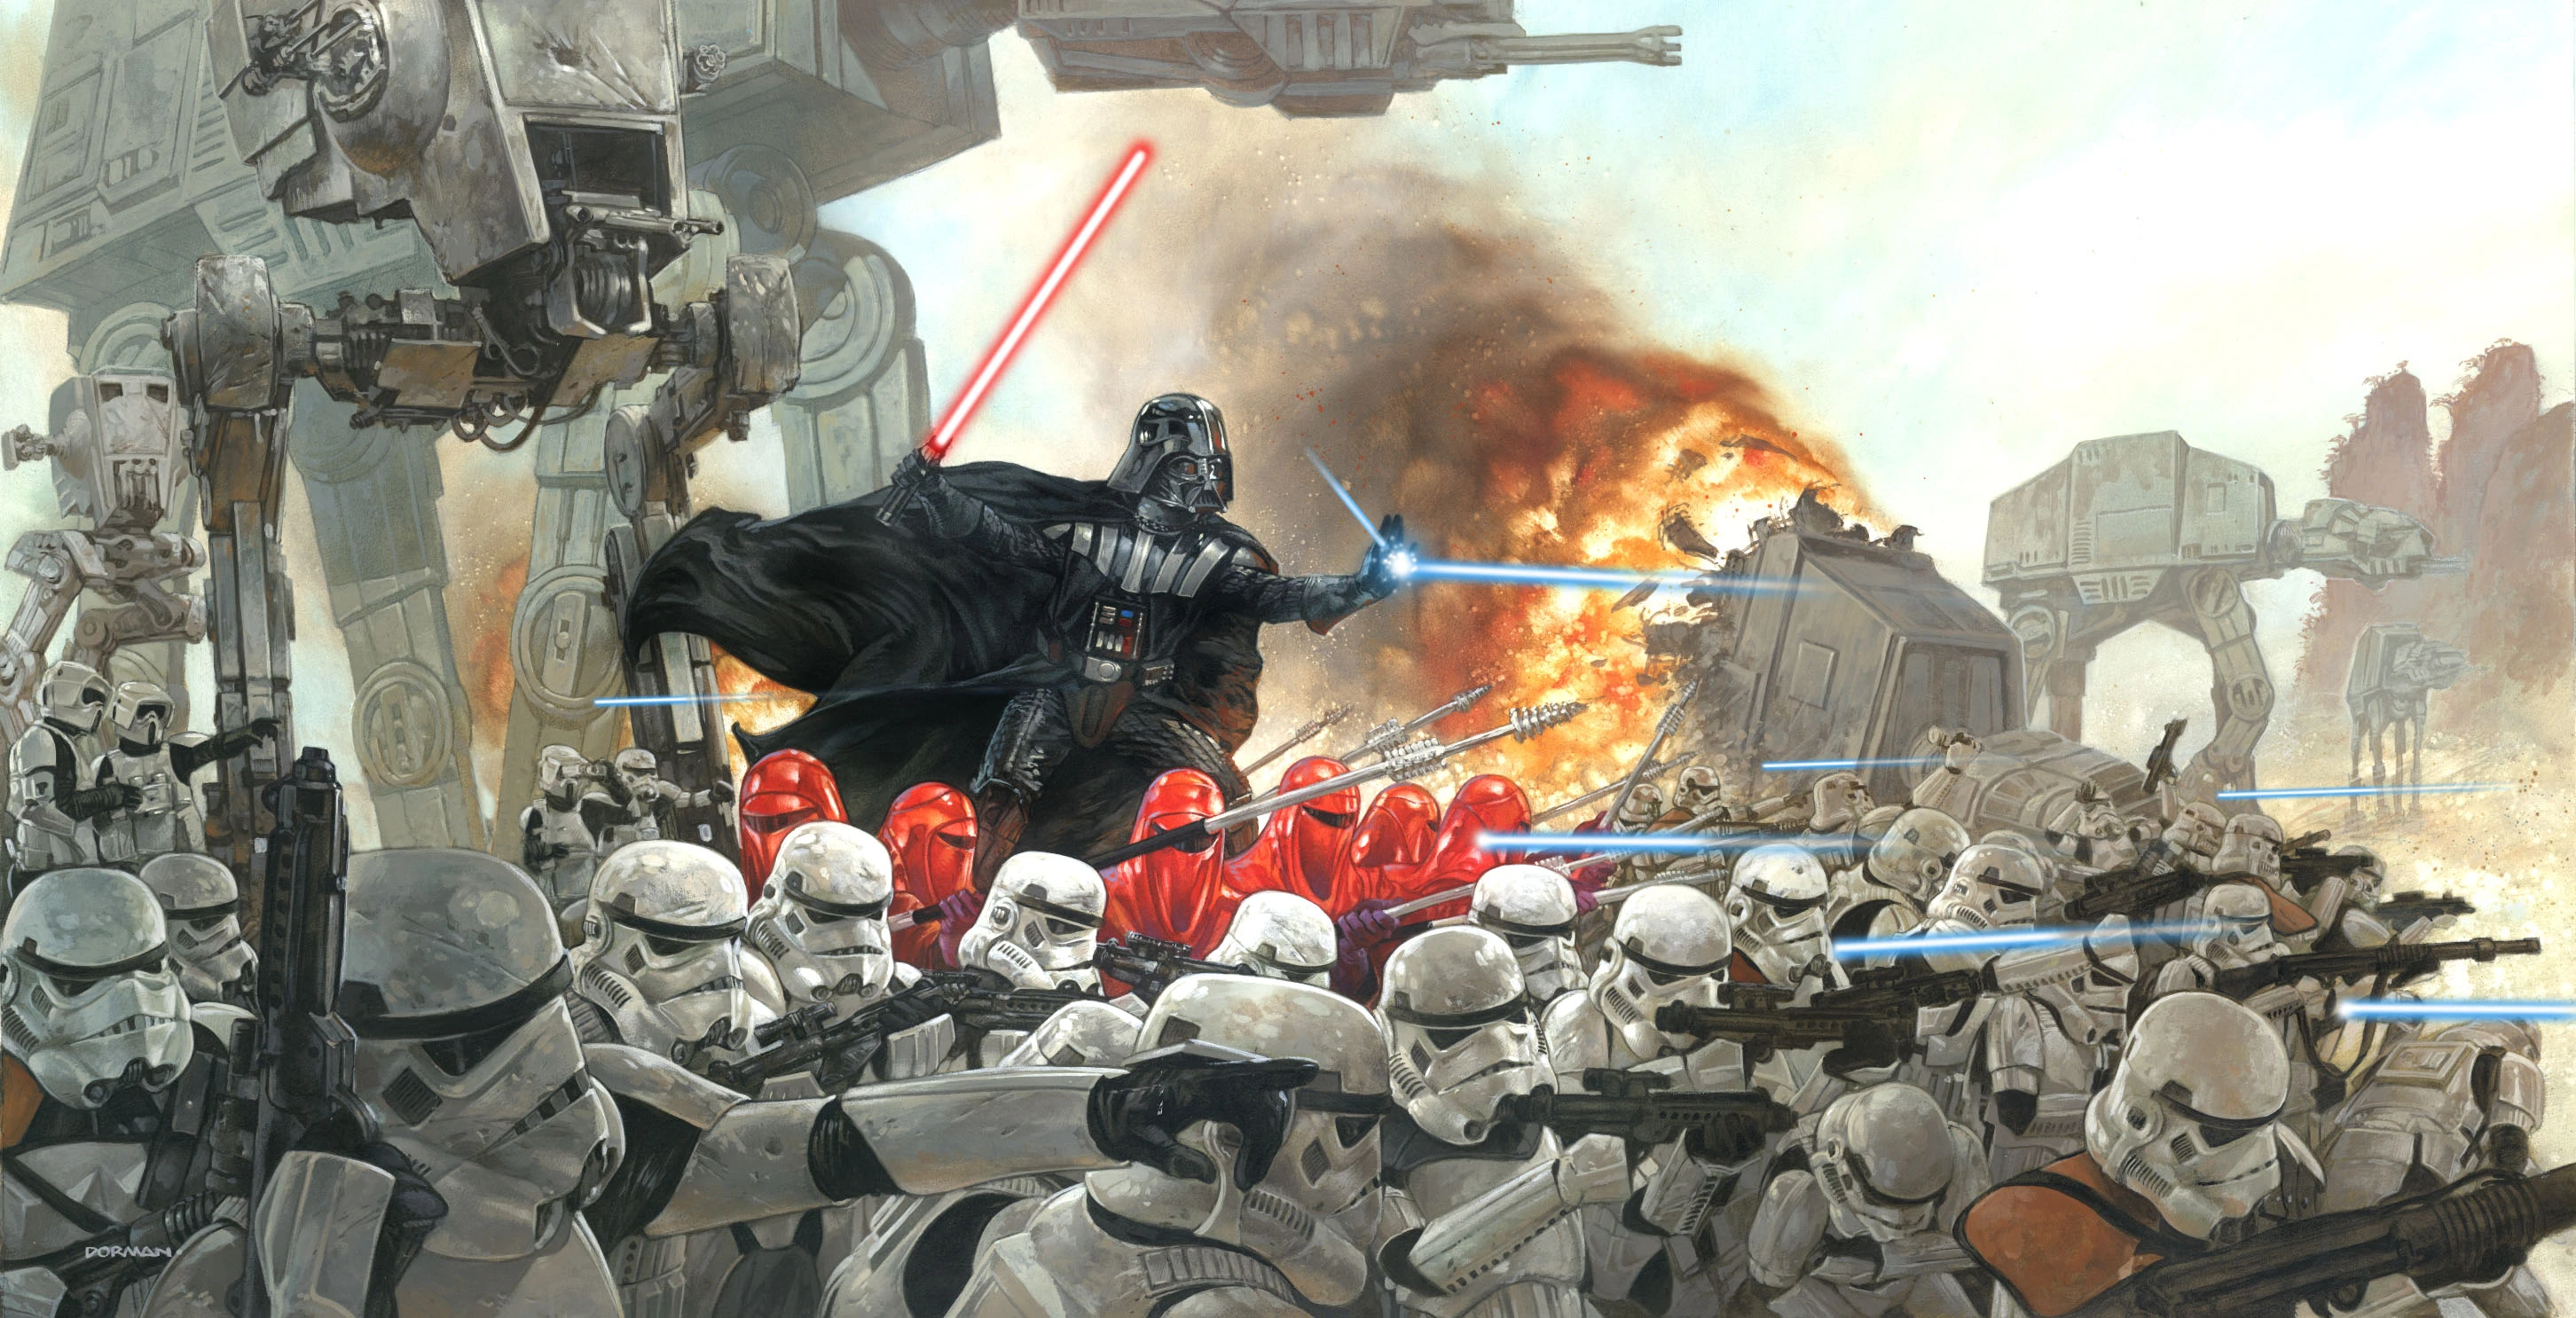
Lord Darth Vader leads troops during the Reconquest.
Out of the former Foundry of the Confederacy, ravaged by the Republic during the Outer Rim Sieges, emerged a new threat to the Empire in the form of Toonbuck Toora, the former senator of Sy Myrth who had led her world in secession from the Republic during the Separatist Crisis.[3] Toora reactivated factory worlds and rallied ground and naval forces in preparation for a war with the new Empire, which came when the 12th Sector Army relocated to Charros. Under Admiral Adar Tallon and General Jan Dodonna, they engaged Toora's forces in a series of protracted conflicts, among which were the Battles of Metalorn and Diado.[1]
After several months of fighting, Imperial forces under General Dodonna besieged Sy Myrth and forced Toora to flee. Dodonna led the chase against Toora on the Battlecruiser Battalion, capturing her in the Trasemene system. In the Battle of Trasemene, Toora's flagship, the Defiance's Banner, was destroyed, and the Sy Myrthian Insurrection ended. Some holdout forces escaped to the Kreetan Narrows and continued low-level resistance, which ultimately led to the Empire claiming the area from the Hutts.[1]
The Five Veils Campaign
Following the death of Nute Gunray on Mustafar and the conquest of Neimoidia and the Neimoidian purse worlds, Acting Viceroy of the Trade Federation Sentepeth Findos signed a treaty with the Empire, surrendering the cartel's resources to Imperial control and effectively dissolving the Trade Federation. However, Customs Vizier Marath Vooro refused to acknowledge Findos' authority or the treaty and retained control of Trade Federation ships and droids at Enarc, establishing an enclave of Separatist space around the Five Veils Route.[1]
Vooro's resistance bolstered the morale of the remaining Separatists, but he had a critical lack of effective commanders. An Imperial fleet under the command of Moff Octavian Grant decisively defeated Vooro's forces at the Battle of Farstine, then pursued him down the Five Veils Route, ultimately capturing Vooro at the Hook Nebula.[1]
The campaigns of 18 BBY
The Listehol Campaign
The Listehol campaign saw operations against the Sikurdian pirates and Zygerrian and Tervig slavers at the northern end of the Hydian Way. The criminal groups had launched numerous raids against the Shaltin Tunnels and the Listehol Run and were pushing in to the newly-reorganized Corporate Sector. Imperial forces under the command of Wullf Yularen and Bannidge Holt defeated the Sikurdians at the Battle of Sagma, before pacifying Sikurd and advancing down the Listehol Run to interdict Zygerria. Yularen then pushed down the Shaltin Tunnels to raid Tervissis. The planet would resist Imperial raids until it was finally occupied by the Empire in 13 BBY.[1]
The Noolian Crisis
Fought in the Mid Rim, the Noolian Crisis began after the Separatist world of Ando surrendered to the Empire. Aqualish and Harch forces fleeing the defeat harried Imperial forces in the southern Slice, launching hit-and-run attacks out of Leritor on medical and logistics facilities. The Aqualish successfully took Nooli, Galboron and even pushed into Bothan Space before being defeated at the Battle of Galboron by Imperial forces led by Captain Par Lankin.[1]
The campaigns of 17 BBY
The Western Reaches Operation
The Western Reaches Operation was the largest campaign of the Reconquest of the Rim. After the fall of Bomis Koori IV in the Outer Rim Sieges, Separatist forces had fled Rimward down the Corellian Trade Spine, seeking shelter amid the pirate bases and slavers' nests of the lawless Western Reaches. Emperor Palpatine was determined to pacify the region, and Moff Wilhuff Tarkin of Eriadu was given command of the operation.[1]
The campaign was heavily resourced, with Terrinald Screed and Bannidge Holt taking command of naval operations while Hurst Romodi was charged with ground operations. Advancing from Eriadu, Screed and Holt's forces defeated the Separatists at the Battle of Kelrodo-Ai and won a further victory at Pendaxa. Further north, Imperial forces moved up the Rimma Trade Route and defeated the Separatists at the Battle of Ord Vaug, before swinging back south down the Corellian Trade Spine and winning victories at Halm, Ichtor and the Feather Nebula.[1]
In the south at Bryndar, Holt was killed and Romodi badly injured in an ambush by the Iska pirates. Screed and the Imperial TIE ace Shea Hublin smashed the Iska pirates at Fanha, forcing the pirate lord Guun Cutlax to flee into the Atravis sector, where he linked up with Separatist forces under the command of General Kendu Ultho. In pursuit, Screed and Hublin defeated Cutlax at the Battle of Tosste before concluding the campaign with the defeat of Ultho at the Battle of Ogoth Tiir.[1]
Aftermath
The Reconquest of the Rim was heavily propagandised by the Empire, and in later years Imperial citizens were said to always remember where they had been when they heard of Holt's death and Romodi's injury at Bryndar. Various holodramas were made of the Imperial Military's exploits in the Rim. Many Imperials would later look back on this era nostalgically, remembering it as a time when the young Empire restored peace and order to the Outer Rim.[1] Subsequently, the Empire made a number of conciliatory measures to politically reconcile the Outer Rim to Imperial rule.[4]
The campaigns boosted the profile of many of the Imperial officers involved: Wullf Yularen and Hurst Romodi later entered prominent command positions aboard the First Death Star under the command of Wilhuff Tarkin. Octavian Grant would become one of the first of the twelve Grand Admirals of the New Order. For others, it was the peak of their careers: Terrinald Screed sank into obscurity after the Western Reaches Operation and ended up leading corrupt business and slaving schemes in the Outer Rim with Governor Bisad Koong of Roon.
Behind the scenes
Although the events within were frequently referred to in various sources, it wasn't until the release of The Essential Guide to Warfare that the overall time period (19 BBY–17 BBY) was actually given a name. According to one of the sourcebook's two authors, Jason Fry, this section was one of his favorites.[5]
Dave Dorman created artwork entitled Lord Vader's Persuasion of the Outer Rim to Join the Empire for Celebration VI.[6]
Appearances
- Darth Vader and the Cry of Shadows 3 (First appearance)
Sources
Notes and references
- ↑ 1.00 1.01 1.02 1.03 1.04 1.05 1.06 1.07 1.08 1.09 1.10 1.11 1.12 1.13 The Essential Guide to Warfare
- ↑ Millennium Falcon (novel)
- ↑
 Ando, Sy Myrth Secede — HoloNet News Vol. 531 #45 (content now obsolete; backup link)
- ↑
 Star Wars: The Essential Guide to Warfare Author's Cut, Part 8: Tales of the Clone Wars on StarWars.com (article) (backup link)
- ↑
 Jason Fry's Dorkery — EG to Warfare: Endnotes Pt. 7 on Tumblr (backup link)
- ↑ Dave Dorman exclusive "501st Legion" print for Celebration IV